![]()
Intro to Helicopters 
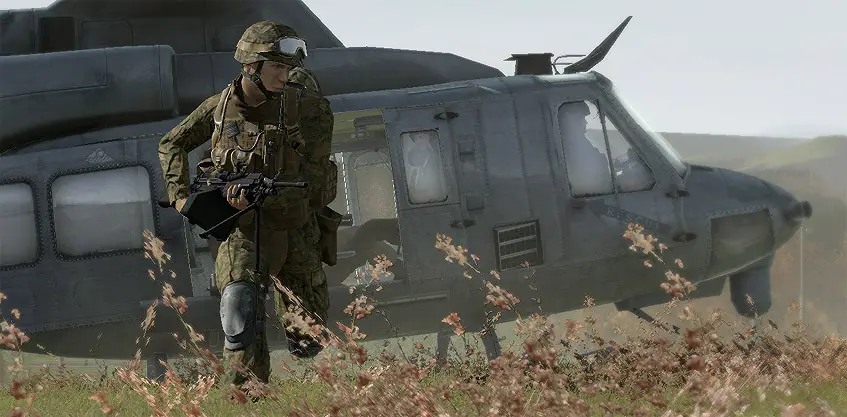
Rotary wing aircraft - more commonly known as helicopters - are one of the most interesting types of vehicles to employ in ArmA2. They have a very unique set of flight characteristics compared to 'typical' aircraft, in that they are able to fly in any direction or even simply float in one place if they so desire. Their ability to operate so close to the ground forces makes them excellent close air support forces, while their cargo- and troop-carrying abilities give the ground commanders a way to move infantry around the battlefield to attack from unexpected directions, or transport resupply all over the battlefield to where it is most needed.
Helicopters are extremely flexible aircraft that can be employed in a wide variety of creative and interesting fashions. They are the air asset you are most likely to find yourself working with when it comes to how Shack Tactical plays.
Types of Helicopters 
Like with most things, there are a variety of classes for rotary-wing aircraft.
Attack 
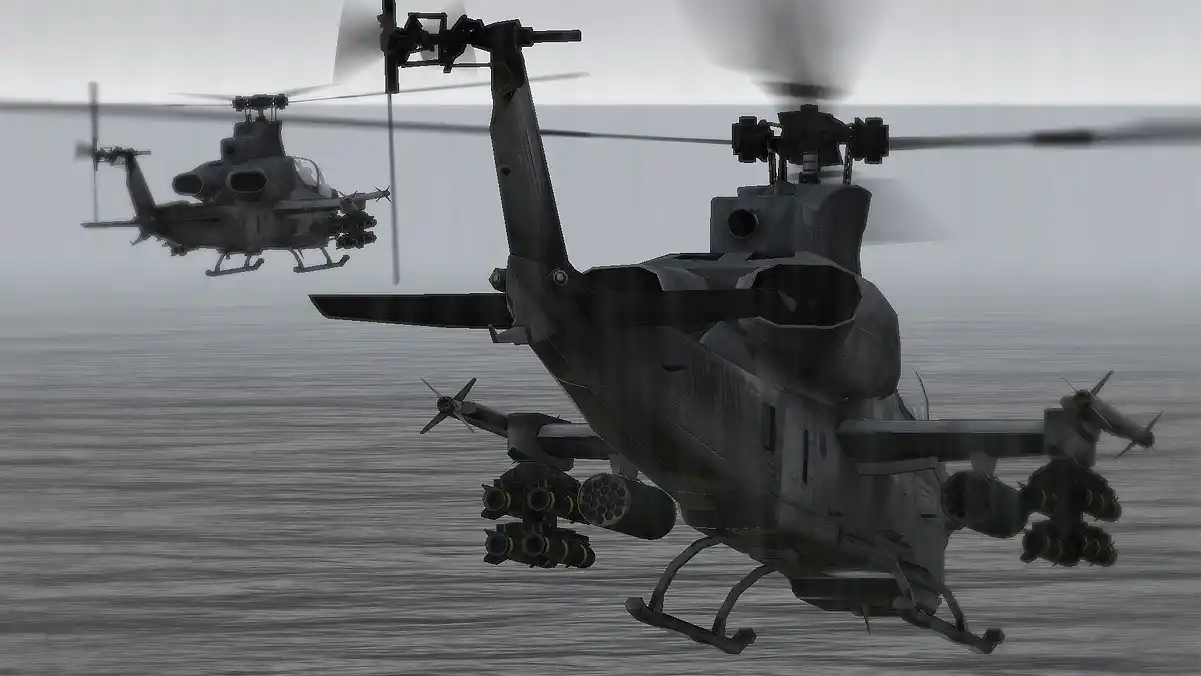
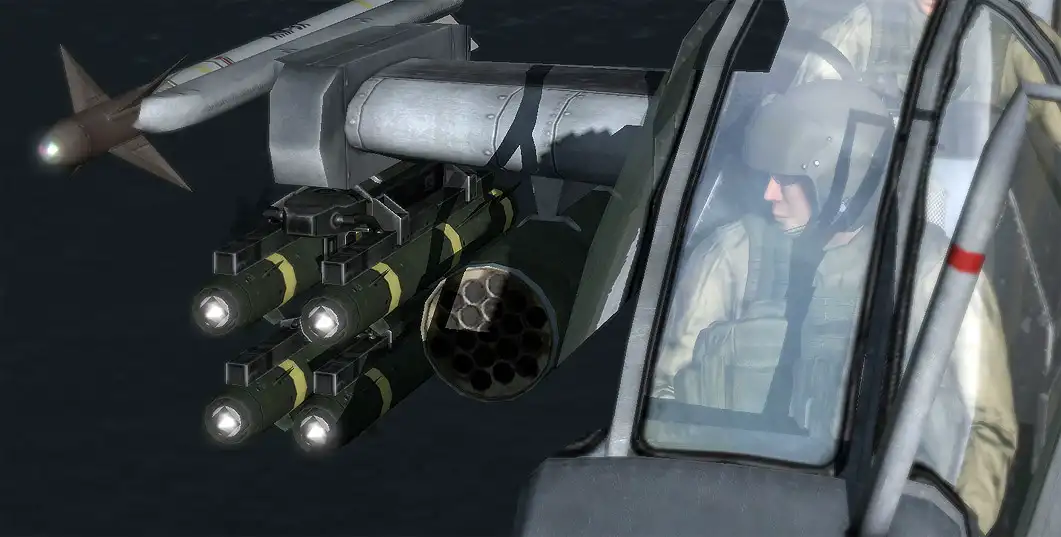
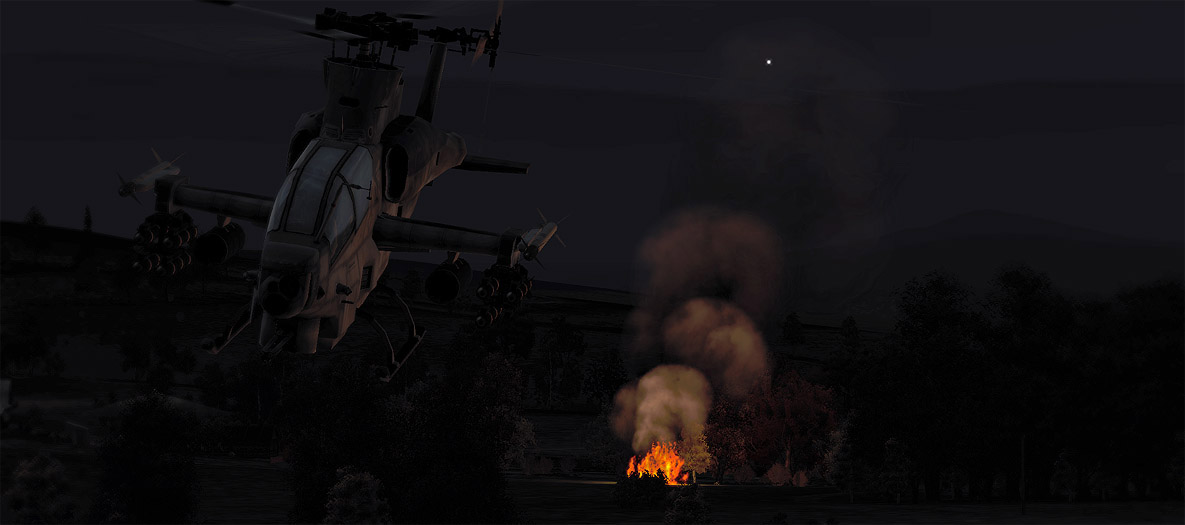
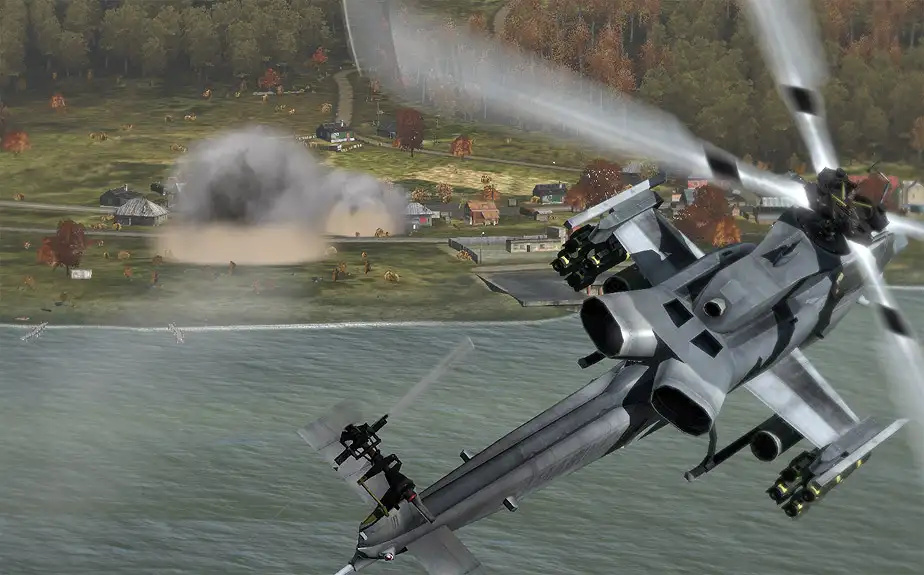
Attack helos are defined by the amount of firepower they can deliver, as well as how survivable they are. The AH-6 and OH-58 are the lightest, with the Cobra being above them in the medium category, and the Apache taking the crown as the heaviest attack helo due to its impressive armament and relatively survivable airframe.
Light 
- AH-6 Littlebird
- OH-58 Kiowa Warrior
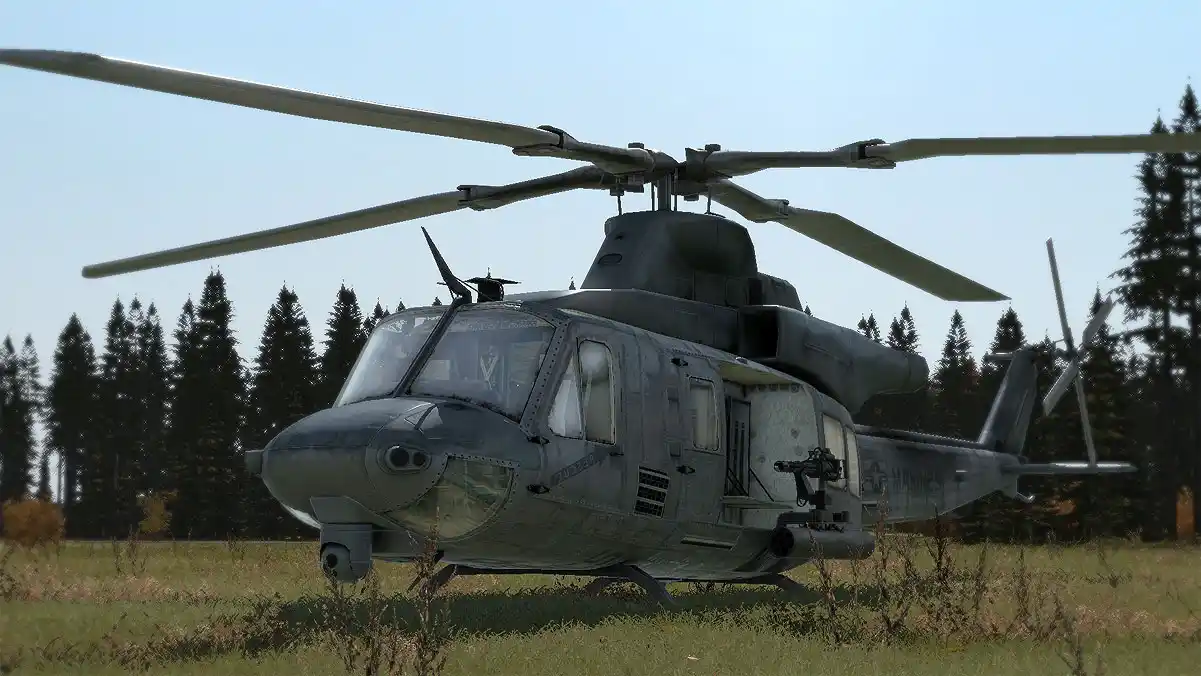
- UH-1Y Venom (when carrying FFAR pods)
Medium 
- AH-1Z Viper
Heavy 
- AH-64D Apache
Transport 
Transport helos are defined by the amount of personnel or equipment they can move around the battlefield. Thus, an MH-6 is at the bottom of the ladder as the lightest transport helo, while the massive CH-53 Super Stallion is at the top.
Light 
- MH-6 Littlebird
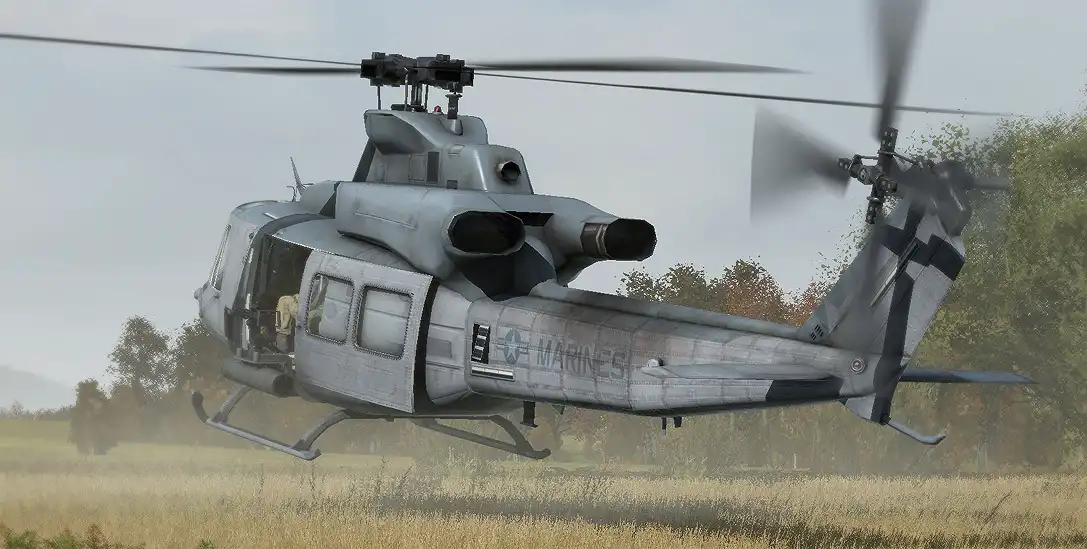
- UH-1Y Venom
Medium 
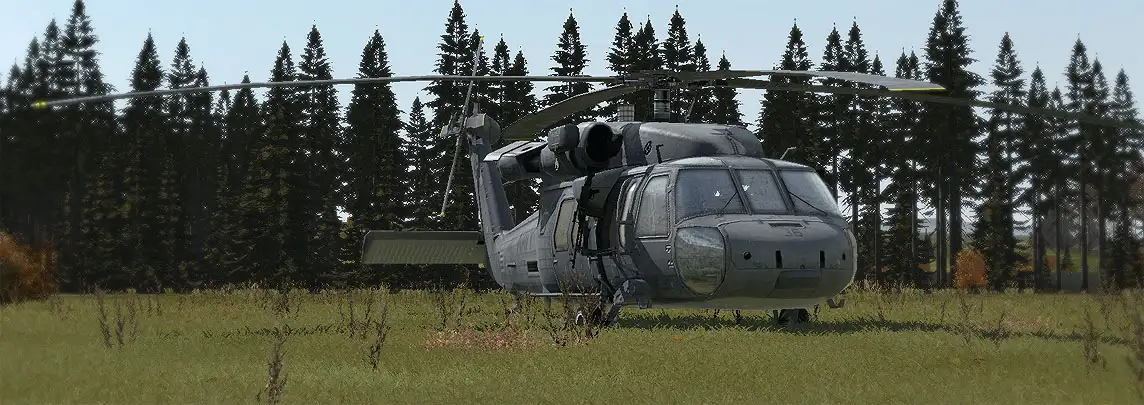
- SH-60 Knighthawk
- CH-46 Sea Knight
Heavy 
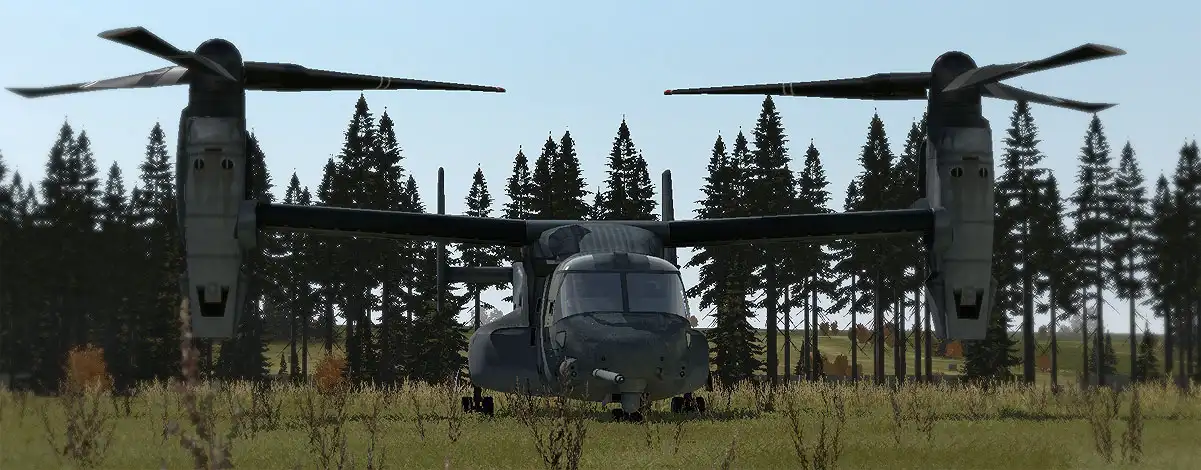
- V-22 Osprey. Note that this aircraft can go from a 'helicopter' mode to a 'fixed wing' mode once it is airborne, increasing its speed considerably.
- CH-53 Super Stallion
Helicopter Crew Roles 
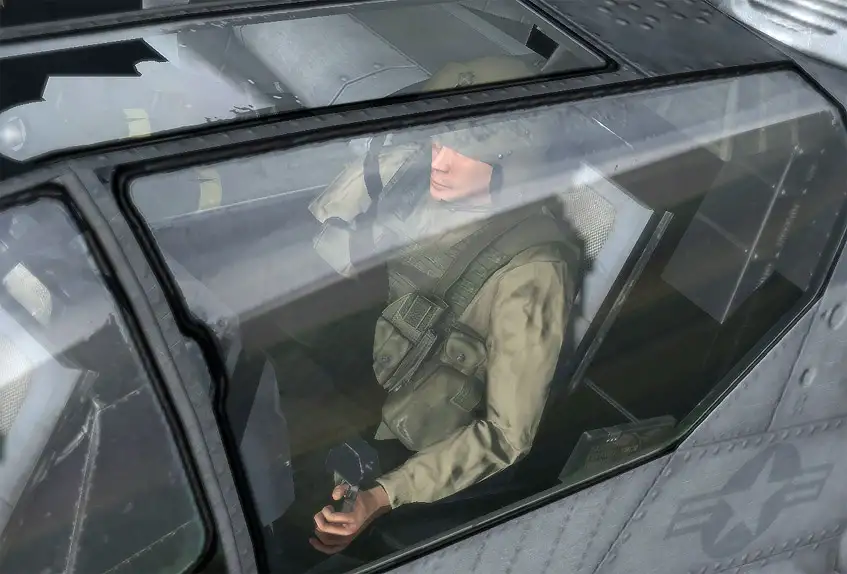
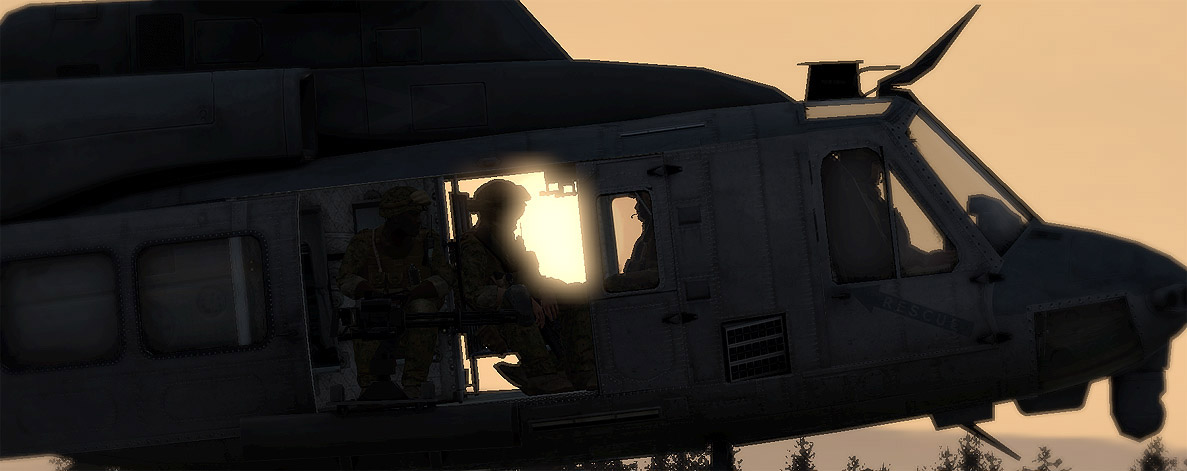
Most helicopters are multi-crewed. For attack helicopters, this is in the form of a pilot/gunner combination, while transport aircraft typically sport a pilot, copilot, crew-chief, and door gunner. This section will cover the different responsibilities of each of the common helicopter roles.
Pilot 
The helo pilot maneuvers the helo tactically in order to accomplish the assigned mission. The specific responsibilities of a helo pilot differ based on whether they are a transport aircraft or an attack helo, and are as follows.
Pilot Responsibilities (General) 
- Senior player in the helo
- Flys the helo and is responsible for the safety of all embarked on it
- Plans the route the helo will use into/out of the combat zone
- Has the final say on LZ selection and is authorized to change the LZ en-route due to evolving threat assessments
Pilot Responsibilities (Attack Helo) 
- Responsible for employing unguided rockets (FFARs) or bombs, if the aircraft has them
- Communicates with the gunner to maintain the gunner's situational awareness. This includes notifying the gunner of locations of friendly forces, upcoming maneuvers, and anything else that might assist him.
- Maintains situational awareness around the aircraft at all times. The gunner is often focusing on a given target, such as when using the gunsight, and thus it is important that the pilot continue to scan.
- Maneuvers in a fashion that allows the gunner to effectively engage the enemy
- Maneuvers in response to the gunner's requests
- Gives guidance to the gunner on weapon type to use
Gunner 
The helo gunner helps to navigate and observe prior to combat, and once in combat, he scans for and engages the enemy while communicating his needs to the pilot.
Gunner Responsibilities 
- Junior player in the aircraft
- Assists in navigation
- Scans and engages the enemy
- Communicates needs to pilot. If the gunner needs the aircraft oriented in a specific direction, or flying at a given height, et cetera, he communicates this to the pilot so that the pilot can fly the aircraft to best accommodate him.
- Communicates with ground forces as required, particularly when the pilot must concentrate on flying and a copilot is not present.
Gunner/Pilot Intra-aircraft Coordination 
Things that need to be communicated are broken down by whether they're communicated by either crewman, by the pilot, or the gunner.
By both:
- Threats. It is important that either crewman communicates anything he discovers about the locations of enemy threats as expeditiously as possible. The more of a threat the particular enemy is to an aircraft is, the more important it is that it is communicated promptly. This also includes any spottings of tracers, missile launches, or suspected missile launches.
- Friendly positions. Whoever sees friendly positions, either on the map or via visual confirmation, should relay it to the other crewman so that situational awareness is enhanced. This is particularly true for the pilot communicating with the gunner.
- Ammo status. Either crewman will have weapon systems available to them in some aircraft. Whatever the distribution, each crewman needs to communicate how much ammunition they have for their weapons, so that they can plan accordingly to fly back for resupply (if available) and also let the supported infantry know how much more support they can provide before they need to return to base.
By the pilot:
- Maneuvers. Particularly when the gunner is employing a turreted cannon, the pilot should talk to him to let him know what significant maneuvers are being employed or are coming up. This helps the gunner to know how much traverse he has left on the turret before running into the limits.
- Fuel status. Knowing how much fuel is available is important, as it allows the gunner to prioritize targets based on how much flight time remains until a trip to a resupply area is necessary.
- Flight worthiness. If the aircraft is damaged by enemy fire, it is the pilot's responsibility to communicate this to the gunner. This includes tail rotor loss, loss of engine power, etc.
By the gunner:
- Gunner activity. The gunner ensures that the pilot knows what he is doing - be it acquiring a target, locking one up, firing, or preparing to fire. This helps the pilot make decisions about how he flys the aircraft.
- Gunner needs. If the gunner requires a certain attack heading, or a specific amount of stability during the employment of a weapon, he must communicate this to the pilot so that the pilot can accommodate his needs.
Gunner/Pilot Brevity Words 
- Weapon Employment & Maneuvers
- Steady. Request from the gunner for the pilot to hold a steady bearing. Typically used when firing at hard or distant targets to provide the most stable gun platform.
- Rotate (left, right). Gunner notification to the pilot that the aircraft needs to turn a specific direction to allow him to employ his weapons.
- Popping up/pop up. Command from the pilot or gunner to indicate that the aircraft is going to, or needs to, rise up to clear an obstruction so that a shot can be taken.
- Dropping down/drop down. Command from the pilot or gunner to indicate that the aircraft is going to, or needs to, drop down behind an obstruction. This is typically done after a successful shot has been made.
- Firing/engaging. Gunner is engaging with his weaponry. Typically used when guns are being employed.
- Launched, missile away. Gunner confirmation that he has fired his missile. Lets the pilot know that he is free to maneuver.
- Running in. Pilot notification to the gunner that the aircraft is heading in for an attack run on a known enemy position.
- Breaking left/right/etc. Pilot notification to the gunner that a significant bank/turn is being employed in the specified direction.
- Threats. Note that threat warnings have a direction attached to them when known.
- Missile, missile. Warning call given when a suspected missile has been launched. This allows the pilot to immediately conduct a 'react to missile launch' drill, as well as notifying the gunner that he should be scanning for the launch origin.
- Taking SAF, taking SAF. Used to indicate that the aircraft is being engaged by small-arms fire, typically used to indicate that maneuvers are needed to evade it. Can be shortened to "SAF, SAF".
- Taking heavy, taking heavy. Used to indicate that the aircraft is being engaged by a heavy weapon such as a crew-served machinegun or vehicle cannon, typically used to indicate that maneuvers are needed to evade it. Can be shortened to "Heavy, heavy".
- Contacts
- Visual. Crewman has spotted friendly positions.
- Blind. Crewman cannot spot friendly positions.
- Tally. Crewman has spotted hostile targets.
- No joy. Crewman cannot spot hostile targets.
- Tracers, (direction). Used to indicate the direction that enemy tracer fire has been spotted.
- Flashes, (direction). Used to indicate the direction that muzzle flashes are being seen at.
- Status
- Winchester. Gunner is out of ammo.
- Bingo. Pilot statement to indicate that the aircraft must immediately return to base in order to make it back before fuel runs out.
Crew Chief 
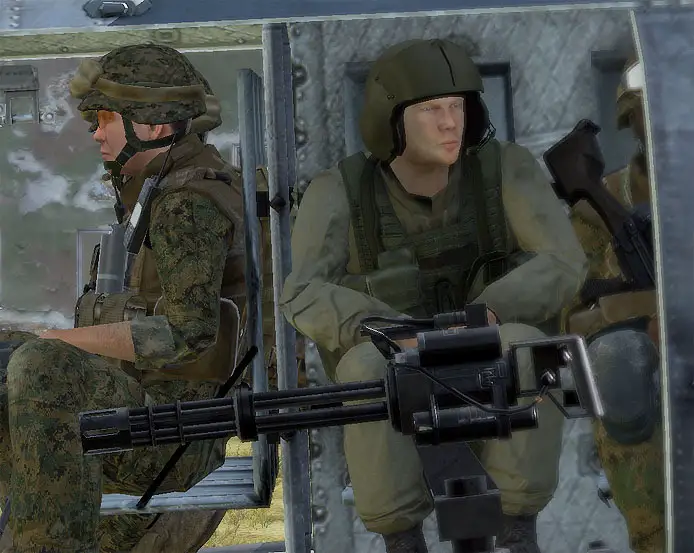
A crew chief is a member of the helicopter crew that, in ArmA2 terms, acts as a door gunner for the duration of the helicopter's employment. Unlike the 'door gunner' role, the crew chief does not disembark from the helicopter except in the event of an emergency (such as being shot down).
The crew chief is responsible for communicating the proximity of obstacles to the pilot when in close terrain and attempting to land. This is done with simple concise verbal commands to the pilot to tell him which way to move the helo to avoid obstacles, such as "Tree on left, move right 10 meters". The door gunner, if embarked, assists with this process, as described in "Combined Arms".
Crew Chief Responsibilities 
- Scan for threats & communicate them to the pilot. The crew chief must be constantly scanning for hostile threats. He watches for:
- Enemy personnel and vehicles
- Muzzle smoke
- Tracers
- Smoke trails from missiles or rockets
- Trees, large rocks, and other obstacles when descending into an LZ
Upon spotting any of these, he immediately informs the pilot, either through "Vehicle" VON or Teamspeak. The crew chief can use either clock directions or relative directions (ie: front, left, right, etc) when calling these targets or objects out.
- Be proficient with helo door gunnery. This includes knowing how to correctly lead targets when the helicopter is moving at a variety of airspeeds. As a general guideline, one must lead in the direction that the target is moving relative to the gunner's perspective. If a target is crossing from right to left, he must lead the target by aiming to the left side of the target.
- Stay alert and aware of where friendly forces are, to avoid engaging them by mistake.
- Communicate with ground forces as required, particularly when the pilot must concentrate on flying
Copilot 
The copilot's responsibilities in A2 are different from those of a real one, since they cannot assume control of the helicopter as a real one could. Because of this, their primary tasks are observation, navigation, and communication. In the event that the pilot is shot and killed in flight, they are tasked with leading the passengers and door gunners in a rousing game of 'scream for your life until the aircraft has successfully impacted with the ground'.
Copilot Responsibilities 
- Navigation. The copilot is in a perfect position to navigate for the pilot.
- Observation & observation pod. Whether equipped specifically with an observation pod or not, the copilot - being in the front of the aircraft - is in a good position to assist with observation. The observation pod obviously amplifies this.
- Communication. Due to not being tied up with actually flying the aircraft, the copilot is able to spend time communicating with other aircraft, ground forces, etc.
Helo Flight Principles 
The art of flying a helicopter is one that takes time to master, typically accomplished with a great deal of offline practice. The following sections will help to familiarize you with the basic helo flight principles, as they apply to ArmA2, so that you know what you should be practicing towards.
Taking Off 
Getting a helicopter into the air is a pretty simple process. There are a few things to keep in mind, as described below.
Considerations Before Lifting Off 
- Ensure that everyone who should be on the helo is loaded up and ready to go. This applies mainly to transport aircraft, of course.
- Look around and above the aircraft to familiarize yourself with what obstacles are nearby. Trees, power lines, light posts - anything that can cause a rotor strike must be noted and avoided.
- Consider other aircraft. If a multiple helo package is taking off, the aircraft must lift off in a predefined order to avoid colliding on takeoff. If working out of an active area where aircraft are coming and going at regular or random intervals, you must be careful to ensure that your takeoff does not run you into another aircraft working in the area at the same time.
- Know where you're going, and have a plan on how to get there. Trying to plot a course while already in the air is not ideal - whenever possible, as time allows, ensure that you've sketched out your route to the LZ and know what terrain to expect along the way.
Once all of these are considered and checked for, simply apply power to the engines to lift off the deck. You only need to bring the helo a few meters off the deck to "take off" - there is no reason to go higher immediately unless terrain or obstacles force it.
As you move away from the staging area, evaluate the terrain and choose your flight profile accordingly.
Landing 
There are two primary aspects involved with landing - the basic procedures of the act itself, and the considerations that must be made when making a combat landing. Both are described below.
Basic Landing Principles 
- Be careful with your vertical speed. Having a low vertical speed upon landing is very important - the most common way to wreck a helo is to slam it down too hard.
- You can land safely with 30km/h of forward speed, as long as your descent rate is very low. You can get up to 40-45km/h or so if you are careful. Bear in mind that the higher your speed, the easier it is to wreck the engine with too fast of a descent rate.
- Pick LZs that have fairly level ground and are free of any major obstacles whenever possible, as this simplifies things.
- If landing on a slope, land facing up the slope and be careful that you don't slide. Oftentimes you will be forced to do a hover insertion when slopes are involved.
- Approach the LZ in a fashion that allows you to see all of the obstacles in the LZ area. Coming in via a shallow curving flight path can help facilitate this.
- If landing in a particularly tight LZ, use your door gunner and crew chief to warn you of any obstacles as well as provide guidance on how you should maneuver. If troops are already on the ground, they can act as guides as well.
Combat Landing Procedures 
- Decide on what kind of landing it will be. Full touchdown, hover, moving, etc.
- Minimize enemy threats via the approach route used. Choose high alt or low alt as necessary, based on expected enemy threats.
- Suppress with door gunners if possible. If the LZ is hot, the door gunner fire can be an effective means of suppressing it long enough to set down and get the troops debarked.
- Come in fast and touch down lightly. A proper combat landing requires a good grasp how to flare a helicopter to rapidly bleed of speed without gaining altitude. Coming in fast is the best counter to enemy small arms fire - it's not easy to lead a moving helo, after all.
- Tell your passengers to debark via "GO GO GO". Once you've touched down safely, or have entered a hover or slow & low state (in the case of a 'hover' or 'moving' insertion), give the "Go, go, go!" command so that the embarked infantry can hear you. They will then begin exiting the aircraft and conduct their mission.
- Listen for confirmation from the senior embarked player that all troops have dismounted. In some aircraft you will be able to look into the passenger compartment to watch the unloading process yourself.
- Once given the all-clear, take off and assume your next assigned task. If feasible, your crew chief can continue suppressing the LZ as you depart.
Altitude Tradeoffs 
Flying a helicopter forces the pilot to take calculated risks in order to best accomplish his mission. One of these involves altitude - there is no one-altitude-fits-all solution; depending on the mission, terrain, enemy, et cetera, the risks/rewards of each altitude will vary. It is up to the pilot to be familiar with the tradeoffs involved and be able to make the right decisions when the time comes.
The pros and cons of high and low altitude flight follow.
High Altitude 
- Pros:
- Reduces vulnerability to unguided weapons such as SAF, CSW, HMG, AT, etc
- Increased observation capability
- Eliminates dangers of collisions with terrain, trees, power lines, and other obstacles
- Higher chance of autorotating successfully due to altitude available
- Enemy has a harder time keeping track of you when they're also engaged with ground forces, as it forces them to look up a lot. Allows you to drop in and surprise them more easily.
- Facilitates steep diving attacks and strafing runs
- Cons:
- Easier for the enemy to hear the direction you are coming from
- More visible to the enemy
- Can be engaged by more enemy weapon systems at the same time than otherwise
- Easier to be engaged by guided missile systems
Low Altitude 
- Pros:
- Reduced visibility to the enemy
- Can mask with terrain, trees, and buildings, which further reduces visibility and muffles sound signature, increasing stealth and surprise
- Reduced vulnerability to some types of anti-air missile systems
- Cons:
- Much more vulnerable to SAF, CSW, HMG, AT, etc.
- Reduces visibility of the battlespace
- Introduces the danger of collisions with terrain, trees, power lines, and other obstacles
- Less likely to survive an engine failure due to lack of space to properly autorotate
- Reduces effectiveness of some attack profiles such as diving attacks and strafing runs
Masking with Terrain & Tactical Helicopter Movement 
One important aspect of helicopter survivability lies in using the terrain to maximum advantage. Hills, valleys, forests, buildings - there are countless terrain features that can be used to mask a helicopter from enemy fire and observation. Attack helicopter crews will often stay low and fast, moving from one covered position to another to avoid enemy anti-aircraft artillery and MANPAD or SAM units. When it comes time to engage the enemy or scout out areas, the helicopter can pop up briefly, scan the area or employ weapons against the enemy, and then drop back down behind a terrain feature so that enemy gunners have little time to acquire, lock, and fire upon them.
Bear in mind that when masking with terrain, the helo crew must be aware of what's on the 'near' side of the terrain being used for cover. Taking cover behind a ridge that has an enemy platoon sitting on your side doesn't do you a great deal of good.
Also keep in mind that helicopters are highly susceptible to enemy air defense assets, and are by no means to be thought of as invincible flying machines of death and destruction. Keeping a helicopter alive in a hot environment, particularly a player-vs-player one, requires a great deal of skill, patience, and coordination between the crew members. Rambo helicopters will find themselves shot down in short order almost every single time. People who fly helicopters like they're jets will likewise find themselves being quickly shot down. Helo tactics and jet tactics are two entirely different beasts and must be treated as such.
Nap-Of-Earth Flight 
The altitude a helo can safely fly at will vary depending upon the terrain. Heavily wooded, rolling terrain allows for helos to fly higher due to the amount of terrain and vegetation that interferes with MANPAD systems (ie very low exposure times, lots of obstacles for firing a clean shot), whereas desert terrain or other fairly flat terrain can force lower flight altitudes.
Regardless of terrain type, nap-of-earth flight is an important technique to use to avoid enemy observation or engagement. NOE simply means that the helicopter is staying low and following the contours of the ground as it flies, as opposed to simply beelining across the sky without consideration for the terrain below.
A few guidelines for NOE flight follow.
Guidelines for NOE Flight 
- Be vigilant in scanning for obstacles. The most common obstacles are poles, trees, and powerlines. At night, powerlines in particular become a greater threat due to the 'grain' and reduced clarity of vision brought on by nightvision.
- Know and consider the diameter of your rotor mast. If you need to go between two trees, for example, you must be able to visually determine if your rotors can fit through.
- Only fly as low as you need to. While flying a few meters off the ground is a good display of skill, oftentimes it puts your passengers at an unnecessary risk. Fly at the altitude that is necessary to accomplish the goal that NOE flight facilitates. NOE flight does not have to be "Hey guys, I just picked a flower off the ground!" altitude at all times.
Attack Helo Attack Types 
There are several distinct attack types that can be utilized by rotary-wing aircraft. Each has a time and place where it can be used successfully, and being familiar with the different attack types allows for an aircrew to maximize survivability while fighting according to the enemy threat level.
Slashing 
A slashing attack is used when the pilot determines that he can fly over enemy territory without putting himself at unnecessary risk. This is typically when the enemy is known to have no serious anti-air equipment.
A slashing attack is simply a run where the helo flys in, fires ordnance, and then continues in the same direction and passes over or near the target before leaving the area.
Slashing attacks are typically done with FFARs or fixed-forward-firing cannons or guns.
Break-Off 
Break-off attacks are used when there is a threat of enemy air defenses beyond or at target.
A break-off attack consists of the pilot lining up for an attack run, firing his ordnance, and then immediately breaking off so that he does not fly over or past the target. The distance at which the helo should break depends on the anticipated threat - bear in mind that the further away you break, the less likely enemy small-arms fire will be able to get you.
Break-off attacks are typically done with FFARs.
Stand-Off 
Stand-off attacks are used when there is no significant threat of enemy return fire or anti-air defense and cannons or anti-tank guided missiles (ATGMs) need to be employed.
For a stand-off attack, the pilot brings the aircraft to a hover (or slow flight) out of effective small-arms range of the enemy. The gunner then proceeds to employ the aircraft cannon or guided missiles to strike enemy targets. During this, the pilot scans the area around the aircraft for any enemy infantry that may be on the ground.
If the threat of enemy anti-air is completely non-existent, the aircraft should hover at least 500 or more meters above the ground to reduce risk of enemy small-arms fire.
The aircraft should remain in a hover only as long as is necessary to employ ordnance. Once complete, the pilot should resume normal flight.
Pop-Up 
A pop-up attack is a variation of the stand-off attack that is used when enemy anti-air threats are expected.
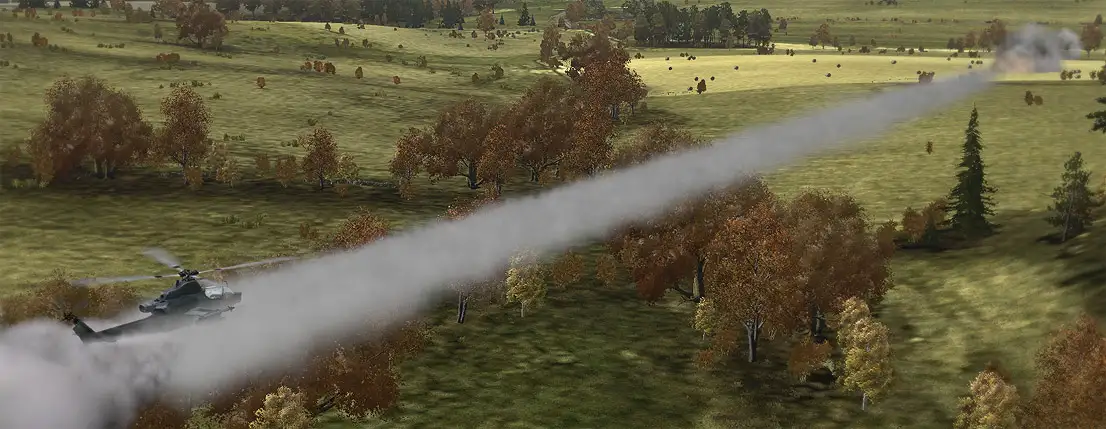
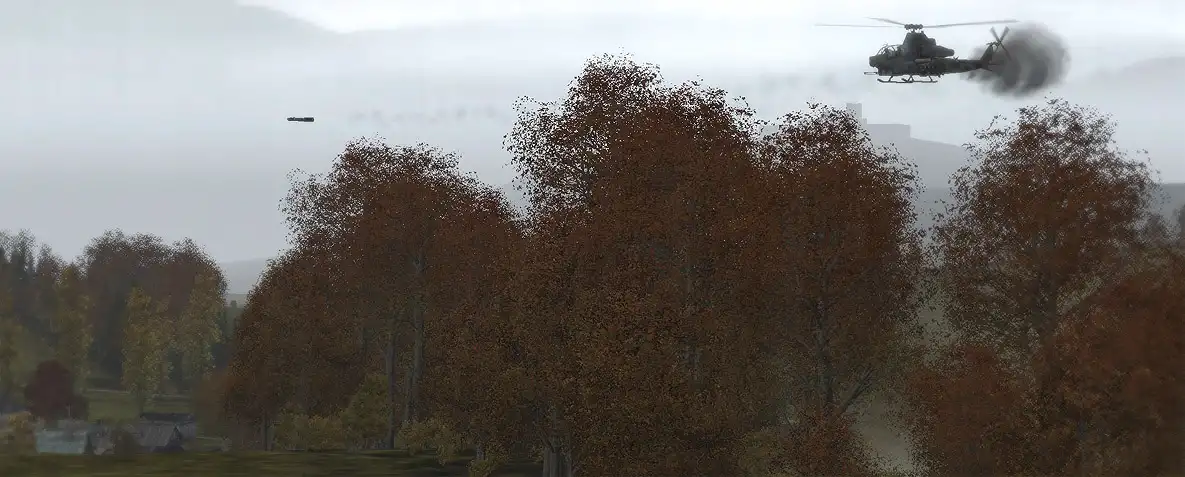
To employ a pop-up attack, the pilot must first move via a concealed or obscured approach to within effective weapon range of the target. He will then instruct the gunner that they are going to pop-up, and that the gunner needs to stand by with a specific weapon system (typically an ATGM). The helo then rises up just enough to clear the terrain feature, at which point the gunner acquires the target, fires his ordnance, and the pilot rapidly drops the helicopter back behind the cover afforded by the terrain.
When done correctly, pop-up attacks are extremely difficult to defend against.
Cobra Fire Control Systems 

The following section about the Cobras in ![]() is from Headspace, ShackTac member and creator of both the ArmA2 Artillery System and the Cobra Fire Control Systems.
is from Headspace, ShackTac member and creator of both the ArmA2 Artillery System and the Cobra Fire Control Systems.
Cobra Employment in ACE2 
Written by ShackTac NCO Headspace
Pilot/Gunner dialogue is critical to smooth combat operations in the AH-1Z. The Cobra has two crew so that the tasks of flying, target acquisition, engagement, and evading can be done simultaneously. However, this requires effective coordination between the gunner and pilot to work effectively. Ensure that pilot/gunner communications are read back after receiving and that brevity is observed, particularly during combat.
The pilot is responsible for ensuring that the top mission priority is fulfilled, that being to prevent the aircraft from hitting anything on the ground (or in the air) and to prevent anything launched from the ground (or the air) from hitting the aircraft. If necessary, the pilot will need to maneuver away even while the gunner is making a shot, if it is necessary to preserve the aircraft.
Most, if not all of the weapon systems in the AH-1Z are designed to be used so that the helicopter can engage enemy forces with minimal exposure to threats. Take advantage of this. For instance, if friendly infantry is equipped with a laser designator, make sure to utilize the LOAL (Lock-On After Launch) modes of the Hellfire system so that you don't have to expose your ship to enemy AAA.
Know the Hellfire weapon system and which mode is appropriate for the current engagement. If you are behind a tall obstacle, such as a mountain, the LOAL-HI mode is appropriate. If the target is only a few KM away and there are minimal obstacles, the LOAL-DIR (for Direct) mode is probably the better choice.
The AH-1Z in ACE2 has the ability to elevate its cannon to match the range to target read from the laser, just like the real AH-1Z. Make sure that when you engage a target with the cannon, that you have the appropriate range locked in. Otherwise, you will waste ammunition.
In cases where you must acquire the target yourself, ensure that you do so in the smallest time window possible so as to limit your exposure. When engaging targets with the AH-1Z's cannon, one helpful trick is to pop up over the obstacle, range the target location, then lower behind cover. When it's time to engage you will already know your range and thus be able to put fire on the target immediately.
Transport Helo Insertion Types 
Flying troops to a landing zone is only part of the problem. Once there, getting them safely on the ground can be a challenge all by itself. It is important that every helo pilot is familiar with the landing options available to him, and is able to pick the right one to suit the situation at hand.
Touchdown 
A touchdown insertion is the most common type, used whenever possible. All that is required is a helicopter-sized patch of relatively level open ground to set down on. This type of landing is also used when extracting troops, for obvious reasons.
Touchdowns ensure that infantry are able to safely dismount without the injury that is possible when conducting hovering insertions.
Hover 
Hover insertions have two primary uses. The first is when dropping troops on sloped terrain. In most cases, trying to land on sloped terrain is a recipe for disaster, so dropping your troops off from a hover is a great alternative to crashing and killing everyone.
The other use is any time that enemy return fire is a significant threat. In such a situation you want to minimize the amount of time that you're low, slow, and vulnerable to the enemy. Keeping your skids or wheels off the ground is one great way to accomplish this, as it allows you to more quickly get back into the air if things turn hot.
A safe altitude for dropping troops in a hover is below five meters. Anything more runs the risk of injuring the troops from the fall.
Moving 
A moving insertion is a variation of the hover insertion that is done while the helo does not come to a complete standstill. This method is even more secure than the hover insertion, as the pilot is at less risk of being hit in the cockpit by enemy ground fire due to his constantly shifting position.
When doing a moving insertion, ensure that the aircraft stays under 30kph and is less than five meters off the deck. These are the thresholds for safe troop drops from a moving helo.
Rooftop 
Rooftop insertions can be done either at a hover or by landing on the roof. It is recommended that they be done at a hover, as that tends to be the safer method.
When doing a rooftop insertion, pay special attention to the rooftops of other nearby structures. If they are occupied, the insertion will likely need to be aborted due to the danger of being shot out of the sky.
Bear in mind that the security of a rooftop insertion depends largely upon the surrounding terrain, the surrounding buildings, and the height of the building that is being inserted on relative to both the surround building heights and the surrounding terrain. For instance, trying to drop troops on a low house in hilly terrain that has enemy infantry likely positioned in the hills, or other locations that are higher in elevation than the roof, is a recipe for disaster. On the other hand, dropping a sniper team on a very tall building in relatively flat terrain is much more likely to be successful.
Fastrope 
Anyone who has seen Blackhawk Down should be familiar with the concept of fastroping. While this capability does not exist currently with any of the default ArmA2 vehicles, it will no doubt be present in the future via community addons.
Fastroping can be useful for inserting troops into an area where the helo cannot easily land. While the altitude of the helo makes it more vulnerable to enemy fire, it also allows for the doorgunners to fire without risk of hitting the disembarking troops.
Helicopter Damage Model 
Due to the altitude they operate at, helicopters are apt to get shot up. Being familiar with the types of damage that can be sustained can help to prepare a helo crew for what to do when they take heavy fire, allowing them to react appropriately even when the situation is tense and every second counts.
Tail Rotor Failure 
Heavy damage to a helicopter has a good chance of inducing tail rotor failure. Since the tail rotor is what stabilizes the helicopter at low speeds, this can be very bad news for the pilot and any embarked passengers.
If at high speed, the helicopter will not visible react. You will probably not notice that your tail rotor has stopped spinning until the next time you slow down.
At low speed, the helicopter will begin to yaw to one side as the tail rotor blades spin down. There are a few critical moments at the beginning of the process that should be used to get the helo down on the deck as quickly as possible, before the full spin begins. Once the full spin begins, having something like a TrackIR is of great use due to the fact that you'll want to be spending a great amount of concentration on both controlling your flight and scanning the terrain (while spinning heavily) for any safe area that you can set the helo down on.
Alternatively, a helo at low-speed can try to gain speed until the effects of the tail rotor (or lack thereof) are nullified by the higher speed. This will temporarily remove the issue; however, you will still need to set down eventually, and at that point you'll have to fight with the spinning at low speeds. Also bear in mind that a hit that is powerful enough to cause tail rotor failure will also likely cause a fuel leak.
Reacting to tail rotor failure is something that needs to be practiced in a non-combat situation (ie, set up in the editor) many times before it becomes second-nature.
Engine failure & Autorotation 
The worst thing that can happen to a helo, aside from outright being destroyed, is for it to have an engine failure. In mods like , which (realistically) do not allow for the pilot/crew to bail out with a parachute, the only way to survive an engine failure is to get on the ground as quickly as possible without killing yourself and everyone else in the process.
To accomplish a safe landing in a helo that has lost it's engine requires that you be familiar with the concept of Auto-Rotation, and are able to carry out the required actions with split-second notice and timing.
Surviving an Engine Failure via Auto-Rotation 
- When the engine fails, an alarm will sound and the rotors will begin to spin down. You cannot let them spin down, else you'll crash and burn hard.
- IMMEDIATELY press and hold your "Thrust Down" key to keep the blades spinning and begin a descent, while attempting to limit your forward speed as much as possible. If you are too slow, the blades will rapidly come to a halt and you'll be headed for a nasty crash.
- Scan your immediate area for a safe place to land - due to the lack of warning beforehand, you may be faced with some pretty tough landing spots.
- Identify the best landing spot and head for it while keeping your "Thrust Down" key depressed. You will want to try to minimize forward movement as much as possible due to how A2 models autorotation.
- At the last moment, flare your helo (bring the nose up) and press the "Thrust Up" key. If done right, the last bits of energy stored in the spinning rotors will reduce your downward velocity to something survivable. If timed wrong, you'll stall out too high off the ground and then crash and burn.
Like everything else concerning helos, auto-rotation is a skill that must be practiced extensively in advance.
Note that due to current FM limitations, you will be unable to attempt an auto-rotation if the helicopter is moving at a very high forward speed at the time of engine failure. In such a case, the helo will nose down, become unresponsive, and spread bits and pieces of your body all over the terrain at the site of the crash.
 新規
新規 編集
編集 添付
添付 一覧
一覧 最終更新
最終更新 差分
差分 バックアップ
 凍結
凍結 複製
複製 名前変更
名前変更 ヘルプ
ヘルプ
