![]()
Close air support (CAS) is the use of aircraft to directly support ground forces. It comes in two main forms - that of fixed-wing (jet) support, and rotary-wing (helo) support. Both have their pros and cons, and both are major force multiplies for the infantry. This section will cover the basics of CAS and how it is employed by Shack Tactical.
Pros & Cons of Close Air Support in Combined Arms Operations 
The pros and cons of CAS in the combined arms fight are as follows.
Pros 
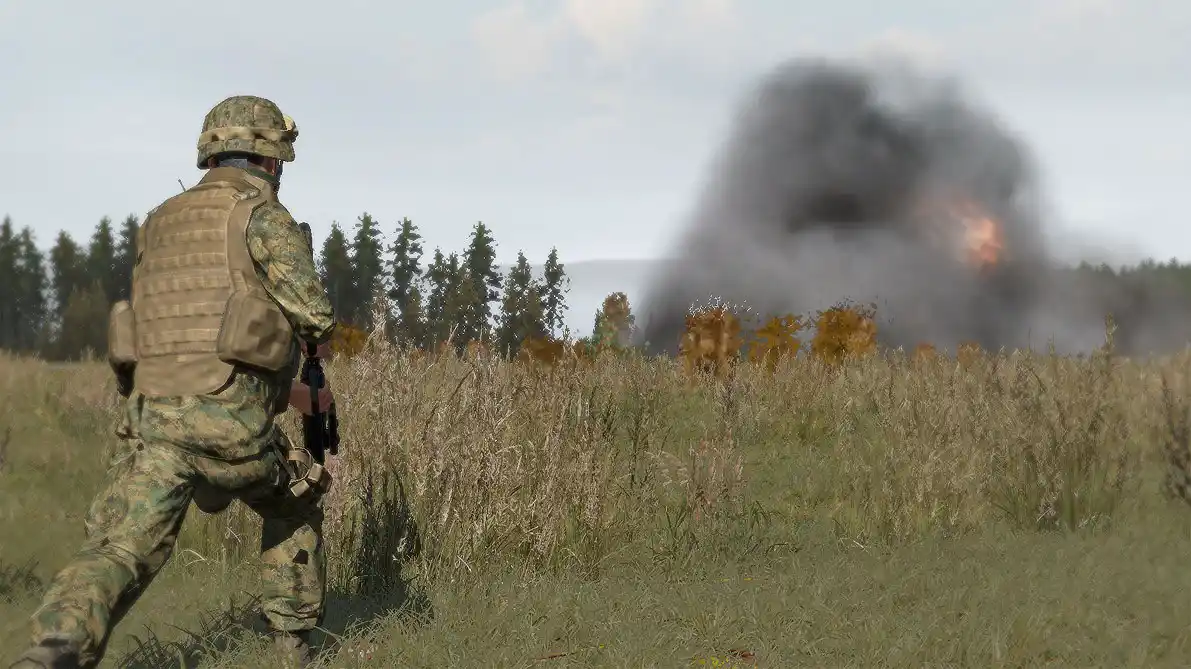
- Great effects on target. CAS assets carry tremendously powerful munitions. When they are delivered accurately, they are capable of destroying anything on the battlefield.
- Hard to defend against as ground forces. Unless the enemy has organic or supporting anti-aircraft defenses such as surface-to-air or MANPAD missiles, defending against good CAS pilots is incredibly difficult for them. Combining CAS pressure with ground force pressure is an even more difficult threat for the enemy to try to deal with.
- Can be very precise when employed properly. With a good FAC and a good CAS pilot, powerful munitions can be delivered with extreme accuracy. Throw in laser-designation and it becomes even better.
Cons 
- Vulnerable to enemy anti-aircraft defenses, particularly SAMs and MANPADs. It is often mandatory to destroy any enemy anti-aircraft sites in an area before CAS can operate freely in an area. Some threats - such as MANPADs - are much harder to purge from the battlefield, which forces the CAS aircraft to continually keep an eye out for the threat indicators that such systems present.
- Can cause significant FF if good air-ground comms are not maintained. If the FAC cannot properly describe friendly locations to the CAS aircraft, or give good target indicators to guide the CAS aircraft onto the enemy, the risk of friendly fire becomes significant. Considering the power of most CAS munitions, a bad drop can wipe out an entire friendly squad in the blink of an eye.
- Can take time to get them onto the right target. The more confusing the on-the-ground situation is, the longer it can take to 'talk' a CAS aircraft onto the right enemy target. Rushing this can easily cause a friendly-fire incident, too.
- Can take time for them to get on-station. CAS aircraft may not always be able to orbit the battlefield for the duration of a fight, due to fuel or rearming considerations. It is important for the FAC to know the status of each CAS aircraft and the likely delay between calling for a strike and having it occur.
- Without laser designation for some munitions, effects may be unpredictable. Laser-designation is by far the best way to get reliable, on-the-mark terminal effects. Without it, depending on the terrain, visibility, and the ground situation, the effects of some munitions - particularly bombs - may not be as predictable as otherwise.
The Forward Air Controller (FAC) 
About the FAC 
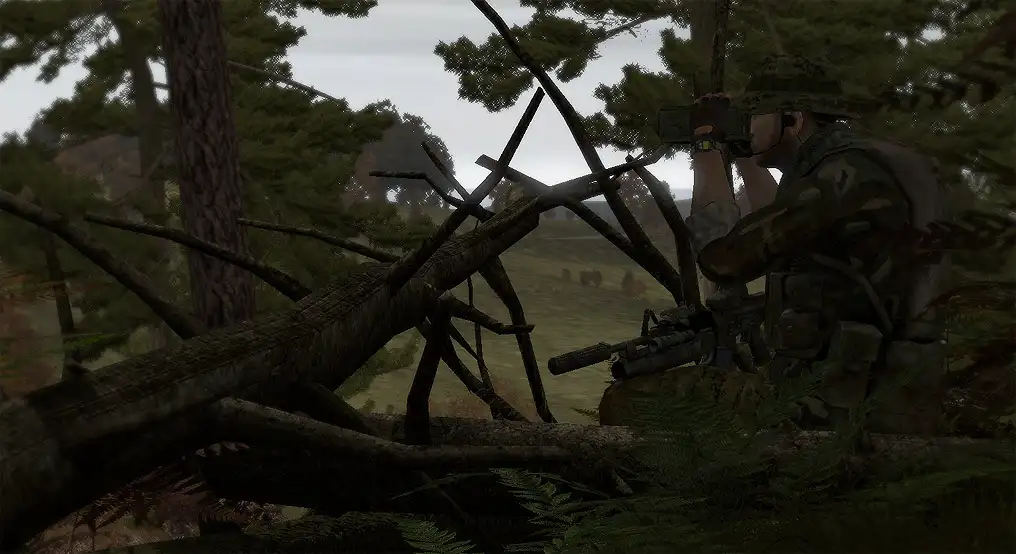
A "Forward Air Controller " or "FAC" is a player who is tasked with coordinating air elements in the support of ground forces. The FAC is expected to be knowledgeable in the employment of any CAS elements, be they fixed-wing (jets) or rotary-wing (helicopters). The more familiar the FAC is with the aircraft, the better he will be able to direct its employment. The best FACs have extensive experience as a CAS aircraft pilot.
The primary job of the FAC is to locate enemy targets and call in air strikes on them. He acts as the 'eyes on the ground' for the CAS aircraft and increases the effectiveness of the air support with the information he is able to relay to the aircraft.
It is of great importance that a FAC is used when player-controlled aircraft are operating in a close air support role. Without his support, the CAS aircraft cannot reach the same level of responsiveness and effectiveness.
Considerations for the Forward Air Controller 
- Ensure that friendly forces are clear of the target being attacked. 300 meters worth of distance is usually sufficient.
- If the strike is going to land within 300 meters of friendly forces, ensure that you inform the CAS Aircraft of this. This is known as a "Danger Close" strike and requires extra coordination and finesse to ensure that friendlies are not struck.
- Ensure that the CAS Aircraft makes his run parallel to friendly positions when employing bombs, rockets, or guns. This lessens the likelihood for a 'short' round to impact friendly forces and cause casualties.
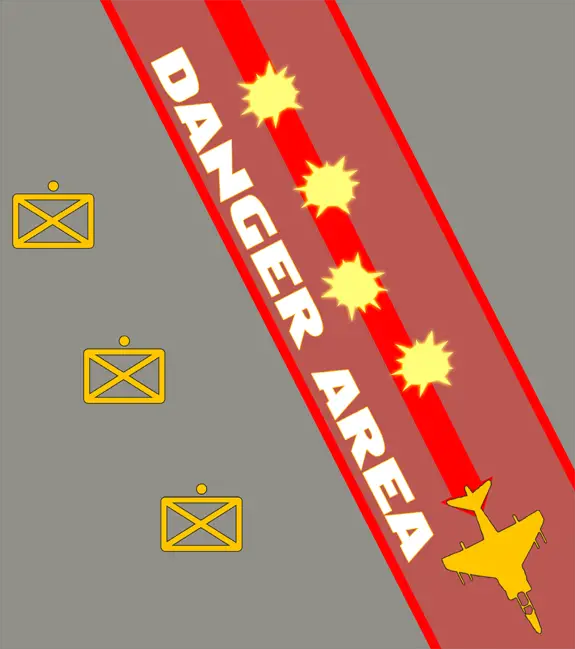
- Give the CAS aircraft an approach/egress direction if necessary. For instance, if you suspect that there are anti-aircraft guns positioned in one direction, give the aircraft an egress direction that will keep them from flying into that danger area.
- Give a battle damage assessment (BDA) after each run. This lets the aircraft know the effects of his munitions. Tell the pilot what he hit, how much damage he did, and let him know how accurate his attack was. "Good bombs"/"Good hits"/etc can be used to quickly and concisely tell the pilot that the strike was on-target without having to wait to determine the precise results of the attack (assuming that visibility even allows for precise BDA). An example of a more in-depth BDA is as follows:
FAC: Snake One, good bombs. One APC knocked out, the other is currently running north by north-west along the canal. Repeat your attack and take out the fleeing APC. Advise you approach from the south south-east if possible
The CAS Request 
A standard CAS request is as follows. This can be expanded on or condensed as the situation dictates - this should simply serve as a guideline of what information can be useful and how to present it.
Standard CAS Request Procedures 
- Establish comms with the aircraft. This call allows for the CAS aircraft and FAC to establish that CAS is needed and warn the pilot that the full CAS request will follow.
"Snake One, this is _______, requesting immediate CAS"
- Describe the target. The FAC gives a brief description of the target to be attacked. This helps to give the CAS aircraft an idea of what ordnance he will use.
"Target is an enemy infantry squad"
- Describe the target location. The FAC clearly describes where the target is located. Map markers are good to use for this, combined with some kind of visual reference that can be seen from the air.
"They're in a treeline to the west of Bravo's position, 600 meters out. Marked as 'treeline ei'."
- Define control, time on target, and ordnance to use. Whether the strike happens ASAP or at a designated time or in response to a specific call, and if necessary, the type of ordnance requested.
"Give me bombs and rockets on that target ASAP."
- Elaborate as necessary. Anything not covered already, as time and the situation allow.
"The treeline runs north-west to south-east, approach from either. Friendlies are located 600 meters east of the treeline in good cover. The enemy is spread throughout that treeline; hit it all over."
An example of how that might be condensed in a gaming environment is as follows:
"Snake One, need immediate CAS on enemy squad at marker 'treeline ei' 600m to the west of Bravo. They're all over the treeline, hit it ASAP with whatever you've got."
while friendly forces close to assault it"
CAS Terms & Meanings 
There are several standardized words and phrases used when communicating with the aircraft. They're broken down below into "Terminal Control" and "General" sections.
Terminal Control 
- Laser On. Used by the aircraft pilot to request that the laser designator be switched on. Once it's on, the FAC calls "Copy, laser on" at which point the aircraft attempts to acquire the target.
- Laser Off. Laser designator has been switched off. Aircraft must give a "Laser on" command for the FAC to designate again.
- Cleared hot. This call informs the CASA that they are authorized to release munitions. Typically this will not be used in a gaming environment, but it's something to keep in mind.
- Continue dry. This call is given either by the FAC or the CAS Aircraft. "Continue dry" simply means that the aircraft is going to fly an attack run but not release ordnance. This can be the result of an abort call or when circumstances make it likely that ordnance release at that particular time will be less than desirable. If the FAC tells the CAS aircraft to "Continue dry", the CAS pilot should reply with "Roger, continuing dry" to let the FAC know that he understood the message.
- Abort, abort, abort. CAS Aircraft must break off the attack. Munitions release is not authorized. This can be used, for instance, if the FAC sees that the CASA is about to attack the wrong target, friendly positions, or if other negative circumstances will degrade the strike's effectiveness beyond usefulness.
General 
- Bombs away. Bombs have been dropped. When utilizing laser guidance, this notifies the FAC that the bombs are falling and that laser designation must be maintained until impact. When in a "danger close" situation, this can be used to notify the friendly ground forces to take cover.
- Visual. CAS aircraft has spotted friendly positions.
- Blind. CAS aircraft cannot spot friendly positions.
- Tally. CAS aircraft has spotted hostile targets.
- No joy. CAS aircraft cannot spot hostile targets.
- Winchester. CAS aircraft is out of munitions.
Target Designation with Lasers 
Lasing a target is by far the best method for CAS strikes. There are a few guidelines to keep in mind when utilizing this method.
- Do not turn on the laser until the CAS aircraft calls for it. This will typically be when the aircraft is ten seconds out from the target. Turning it on early only increases the chance that the enemy will see it and attempt to evade.
- The laser spot is visible to the enemy if they're looking for it. If necessary, lase something near the target, out of view of the enemy. Once the aircraft acquires the laser and is moments away from dropping their ordnance, shift the laser directly onto the enemy position. This will give them much less time to react in the event that they spot the dot. Ensure that the distance shifted is not so high that it causes trouble for the strike aircraft.
- Ensure that your laser is splashing on the target, and is not obstructed by something closer to you (ie: a bush, tree, wall, etc). If you don't see the laser shining on the target, shift around until you do, or until you're absolutely positive that you are not accidentally lasing your own position.
- ADVANCED - A variation of the above technique can be used to give the CAS aircraft more time to prepare for his run. If the FAC knows what direction the strike aircraft is coming from, and the terrain permits, he can lase the terrain in the direction that the aircraft will be coming from. After the aircraft acquires the laser, he can then shift it along the ground rapidly (without breaking the aircraft's lock) until it is located on the target itself. Doing this can provide an extra few seconds for the aircraft to situate itself for a perfect attack run, but it requires a well-coordinated FAC and CASAP to pull off.
Target Designation WITHOUT Lasers 
CAS without laser designation is a bit trickier. Follow these guidelines.
Guiding with Map Marks 
Map markers are as accurate as the player placing them, and with good players, they can be pin-point precise. The main problem with map marks is that it requires the pilot to spend time looking at the map, which can be problematic.
Guiding with Landmarks 
Depending on the type of landmark and distance of the target from it, landmarks can be either excellent or merely acceptable guides. The key thing to keep in mind is that the landmark must be something that can be easily seen from the air. The type of air asset (jets naturally are moving much faster than helos) will dictate what type of landmark is suitable. Landmarks can be natural parts of the terrain (ie boulders, a prominent cluster of trees, the bend of a river) or manmade (buildings, destroyed vehicles, smoke columns).
Guiding with Munitions or Smoke 
This is the least desirable way to orient aircraft on a target, since it typically alerts the target and gives them a bearing on friendly forces. In a pinch, infantry can utilize smoke (preferably launched via an M203) or a Mk-19 to designate a target for aircraft. Tracers can also be used to designate targets. Guiding a CAS strike with munitions can be very difficult, and should be avoided when possible. Efforts should be made to accomplish the guidance in another fashion before resorting to this, particularly when stealth is a concern.
The CAS Aircraft/Pilot 
The CAS Pilot 
Flying as a CAS pilot is a demanding but ultimately enjoyable role. As a CAS pilot you have the capability to dramatically influence the course of a battle with the timely delivery of your ordnance. Becoming a proficient pilot takes time and is best done offline at first, with simple bombing scenarios and navigational drills to get you up to speed on how best to approach targets, navigate, deliver dumb ordnance, etc. The finesse comes in putting this into play in a live session and being able to communicate with ground elements and safely put bombs on target without friendly casualties. To that end, here are a few CAS tips.
Basic CAS Aircraft Guidelines 
- Ensure that you have your keybinds set up properly in advance. You will want to bind the following controls at a minimum: Lower/Raise Flaps, Lower/Raise Gear, Eject. I suggest 2x Left Ctrl + E (double-tap) for eject.
- TrackIR is a godsend if you plan to fly aircraft (be they jets or helos) with any frequency. I highly recommend that people interested in flight check it out. More info can be found on the Basic Rifleman page of this guide, in the Situational Awareness section.
- Know how to use your flaps. Flaps provide additional lift and stability to the aircraft when operating at slow speeds. They are extremely valuable for gun or rocket runs in a low-threat environment.
- Pressing "TAB" will lock and cycle through targets for any ordnance that can acquire a lock (ie LGBs, Hellfires, etc).
- When view distances are low and navigation becomes difficult, roads can be followed at low-altitude to get you to a target town. The benefit of this is that the road will run through the town, which means you will automatically be aligned with the town simply by following the road.
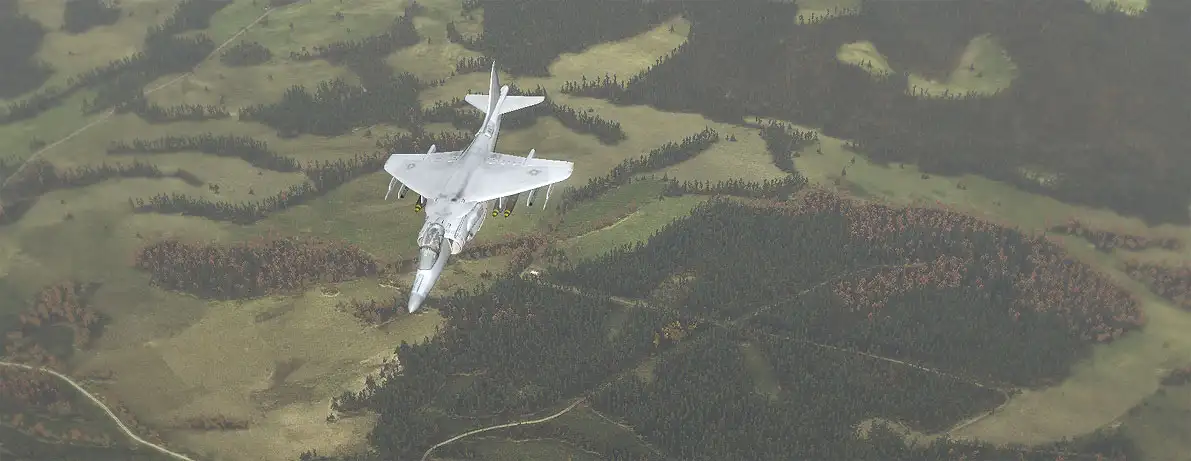
- When view distances are med/high, flying at altitude while inverted can give you a great view of the terrain below.
- Don't rush a drop. If you can't acquire a laser designator target fast enough to align and drop ordnance properly, make another pass. Rushing tends to cause bombs to be ineffective or cause friendly casualties.
- Make attack runs parallel to friendly troops whenever possible. This helps to prevent long or short rounds or bombs from impacting in friendly positions.
- Dive to increase your accuracy in bomb delivery. Coming in from higher altitudes and diving towards the target can do a great deal to increase the accuracy of dumb munitions. Even laser-guided bombs can benefit from this tactic. Alternatively, use a pop-up attack method to deliver your ordnance - fly in low, pop up before the target, then dive to attack.
- Laser marks can be used to guide you onto a target even if you are out of laser-guided bombs. Simply switch to the bombs, acquire the laser target, align on it, and make an attack run. When you are within gun range, switch to guns and you should be aligned on where the laser mark was and ready to engage whatever target was being painted by it.
CAS Munitions 
Folding-Fin Aerial Rockets (FFARs) 
In ArmA2, these are a bit more powerful and precise than their real-world counterparts and are quite useful weapons. FFARs give an aircraft a large number of high-explosive warheads which can be fired with good precision at the enemy. They have a moderate blast radius and are very effective against infantry, vehicles, and light armor. These are best employed from rotary-wing aircraft, but still pack a punch when employed from fixed-wing craft. FFARs can be used effectively in any quantity required, from a few rockets fired at a single target to an entire barrage being placed on an area target.
In ![]() , FFARs have increased dispersion and more appropriate ballistics, making them less of a precision weapon than by default.
, FFARs have increased dispersion and more appropriate ballistics, making them less of a precision weapon than by default.
Anti-Tank Guided Missiles (ATGMs) & Air-to-Ground Missiles (AGMs) 
Hellfires, TOWs, and Mavericks fall into this category. They are lock-on, fire-and-forget (in ArmA2) missiles that are perfect for knocking out tanks and other priority vehicle targets.
The AGM-65 "Maverick" is fired by the A-10 Warthog and will knock out anything on the battlefield with a single hit. TOWs and Hellfires are carried by helicopters, by comparison, and do a slightly lower amount of damage that is generally capable of taking out armored vehicles with a single hit.
'Dumb' Bombs 
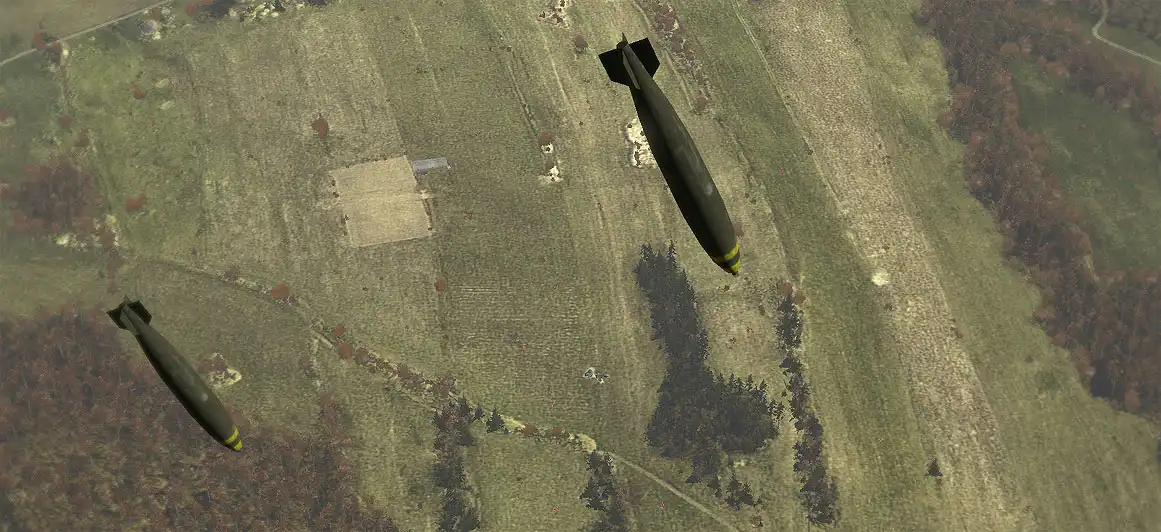
These come in a variety of sizes, from 500 to 2000 pounds. They are a bit on the difficult side to be accurate with, due to the lack of a CCIP (continuously calculated impact point) feature on the heads-up display. However, if you can get these to land close to a target, you'll probably obliterate it. These are extremely effective in the urban environment, against all types of vehicles, and of course against infantry. Most buildings can be flattened by 'dumb' bombs, killing everything inside of them in the process.
Laser-Guided 'Smart' Bombs 
Same as the dumb bombs, except fitted with guidance fins and a laser tracking package that allows them to guide in on a spot of reflected laser energy. With proper employment these are the deadliest CAS munitions around. Landing one of these on-target will obliterate it and everything around it. The only tricky part is practicing good FAC/CASAP coordination to ensure that the right target is lased, and that the delivering aircraft is able to drop the bomb where it's needed.
Cannons 
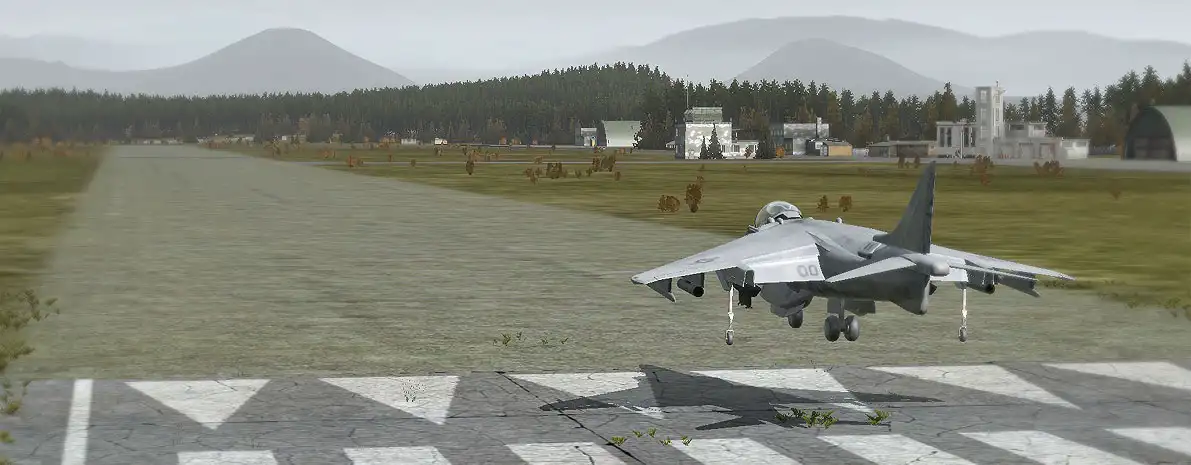
The effectiveness of CAS cannons depends largely upon the type of cannon. The 20mm cannons on the Harrier and Cobra are best at destroying light armor, vehicles, and infantry. Naturally, the Cobra is best able to engage infantry with the cannon due to it being a rotary-wing aircraft that features a swiveling cannon. The Harrier, on the other hand, is a less-than-ideal platform for a 20mm cannon due to its high speed and the requirement for very high precision and sustained hits to cause damage to heavier targets. A Harrier pilot is much better off using his GBUs than trying to score kills with the cannon.
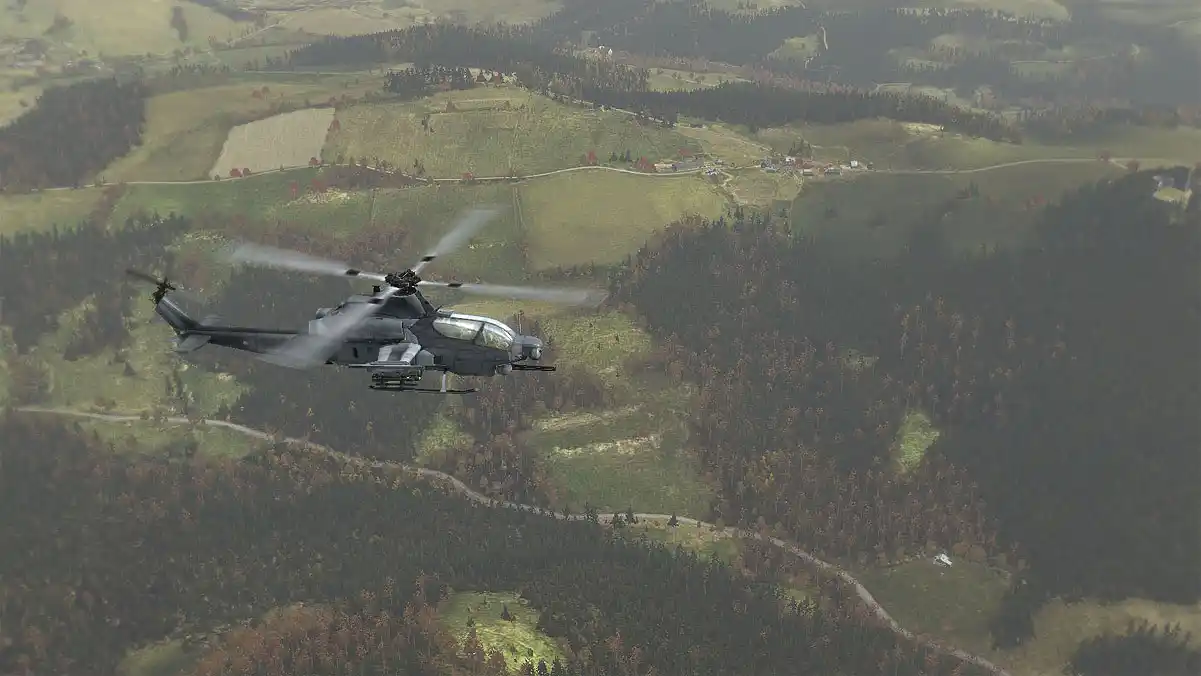
On the other side of things, the Apache has a very powerful 30mm cannon that can make short work of most everything on the battlefield. The A-10 Warthog has an even more impressive 30mm cannon that can tear through most tanks like a knife through tinfoil. Both of these aircraft can do an enormous amount of damage with their cannons and should view them as a primary rather than secondary armament.
 新規
新規 編集
編集 添付
添付 一覧
一覧 最終更新
最終更新 差分
差分 バックアップ
 凍結
凍結 複製
複製 名前変更
名前変更 ヘルプ
ヘルプ
