![]()
General Ground Vehicle Tips 
Foot Recon & Ground Guides 
When the tactical situation permits it, the commander of a vehicle can dismount from the vehicle to do a 'foot recon'. This is typically done when the vehicle is about to crest some significant terrain feature. Dismounting and checking over the crest 'on foot' allows for the commander to decide on where possible enemy threats might be, locate obvious threats, and choose on where and how to crest the terrain, where his gunner should be aiming when they crest, and so forth.
Ground guides, on the other hand, are infantry who walk in front of a vehicle to guide it through a tricky area. Ground guides can be used to get a vehicle positioned specifically where the infantry need it, to help guide vehicles through a potentially mined area, or to help them navigate through tight or confusing terrain.
Clearing Lanes of Fire & Observation 
Depending on their weight and hardiness, vehicles can be used to knock down trees, bushes, walls, and other obstacles in order to clear lanes of fire & observation for themselves or the infantry that they support. Tanks are generally able to knock down anything, whereas trucks and such generally focus on light bushes and light walls to prevent disabling themselves in the process.
Close coordination with the infantry commanders is needed in order to create effective lanes of fire that are integrated into the defensive plans of the supported infantry. Too many trees knocked down, or holes punched in walls, can compromise the ability of the infantry to put up an effective defense.
Soft Vehicles 
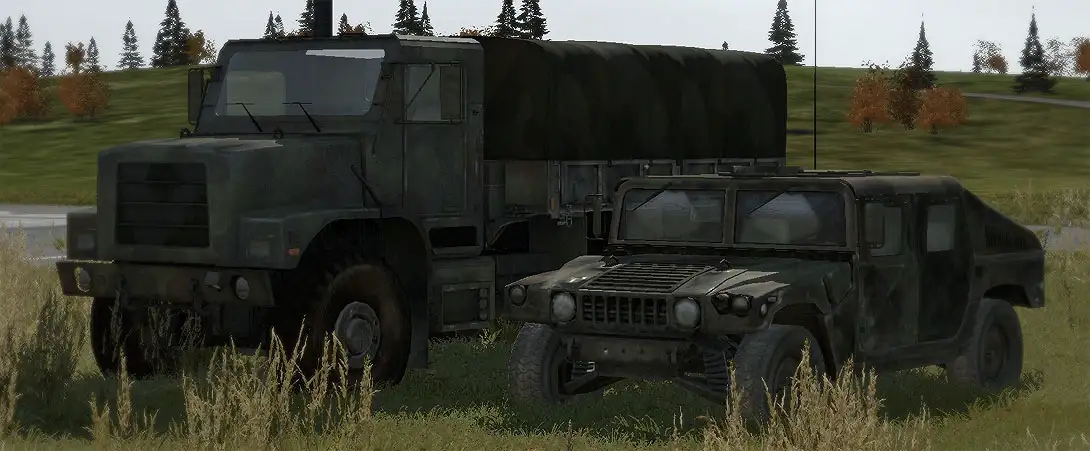
5-ton trucks, unarmored HMMWVs, jeeps, motorcycles, etc, fall into the 'soft' vehicle class. These are meant to be used as transportation and will not survive any significant combat. During combat, 'soft' vehicles carry the minimum of crew - a driver and gunner at most. All infantry using them as transportation dismount to fight on foot once contact is made, or whenever it is anticipated as being imminent.
Types of Soft Vehicles 
Unarmed 
Unarmed soft vehicles fall into two general categories - transport and service. Transport vehicles are concerned with getting troops somewhere, while service vehicles carry fuel, ammo, and provide mechanical support to damaged vehicles. All of these are death traps once bullets start flying.
Armed 
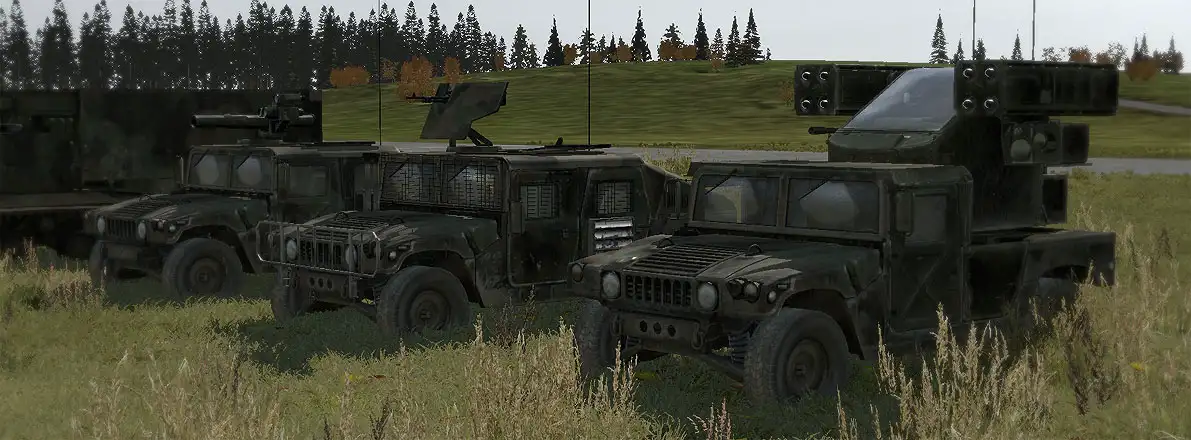
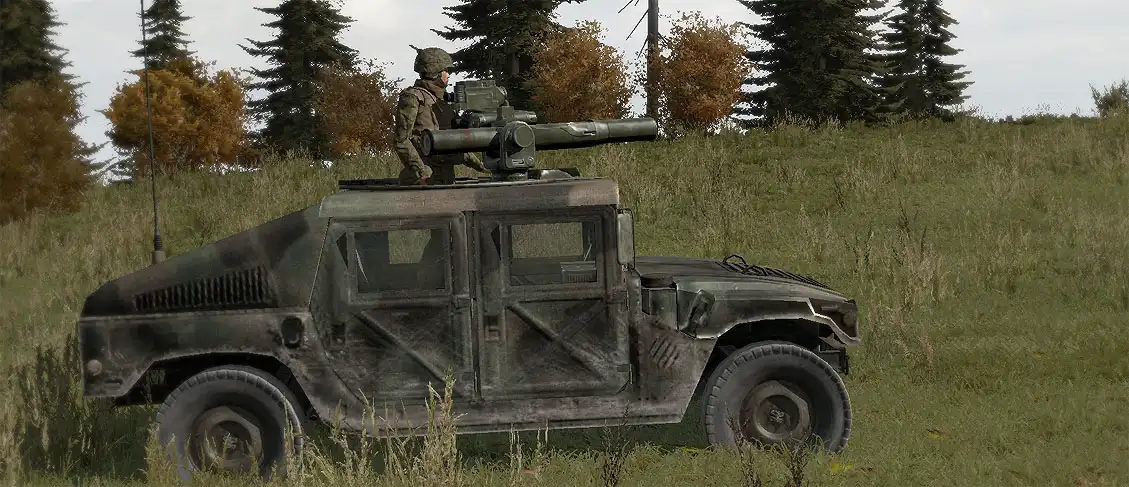
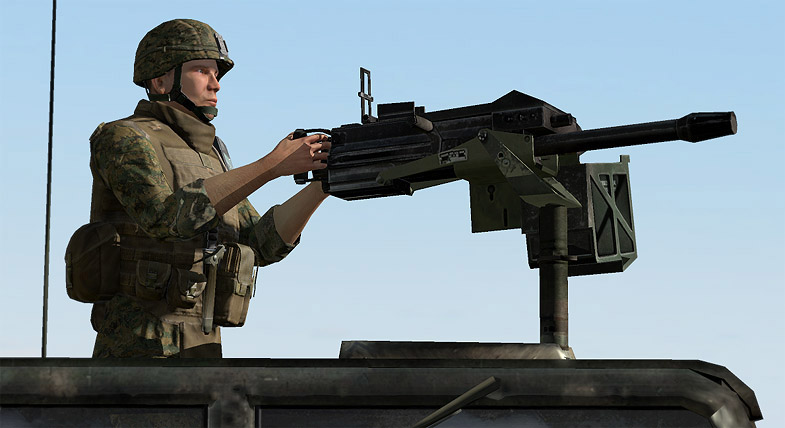
Armed soft vehicles are generally vulnerable to enemy attack, yet have a powerful weapon on them that helps to counterbalance that vulnerability. HMMWVs with HMGs, GMGs, ATGMs, and such are the prime examples of this class of vehicle.
Roles 
Soft vehicle roles were described in the Combined Arms page, previously.
Typical Threats 
The following threats are the ones most commonly employed against soft vehicles. While there are plenty of other things that can destroy a soft vehicle, these are the most commonly encountered. For more information about additional threat types, read the "Armored Vehicles - Typical Threats" section below, and understand that most of those can also be employed against soft vehicles.
If you take anything away from this, it should be that soft vehicles do not stand up to serious enemy resistance and are best employed in low-intensity conflicts. If you're going into a serious fight, bring a serious armored vehicle.
Small-Arms Fire (SAF) 
Small arms fire is by far the greatest and most prevalent threat towards 'soft' vehicles in A2. The key characteristics of it, as it relates to 'soft' vehicles, follow.
- Generally massed. Most infantry units will mass fire on soft vehicles to ensure their swift destruction.
- Can puncture the hull of a soft vehicle easily, wounding or killing those inside.
- Can destroy tires and cripple the mobility of a vehicle.
Heavy Machinegun Fire 
Heavy machinegun fire typically is encountered in the form of enemy vehicles. Heavy machineguns are more than capable of quickly destroying a soft vehicle. They do everything that small-arms fire does, except multiplied in intensity. They can destroy tires, tear through the vehicle hull and kill anything they hit, destroy the engines, and generally swiss-cheese soft vehicles in short order.
Light Anti-Tank Rockets 
Light anti-tank rockets, such as the RPG-7, are deadly threats to soft vehicles. One good hit from an RPG warhead is usually enough to disable a soft vehicle, if not outright destroy it.
Armored Vehicles 
Types of Armor 
For the purposes of ArmA2, the three armored vehicle classes are light, medium, and heavy. These classifications are given based upon two things: The armor of the vehicle and the armament. They differ somewhat from the real-world classifications in some regards, but this convention is done in consideration of the way in which A2 models such vehicles.
Light 
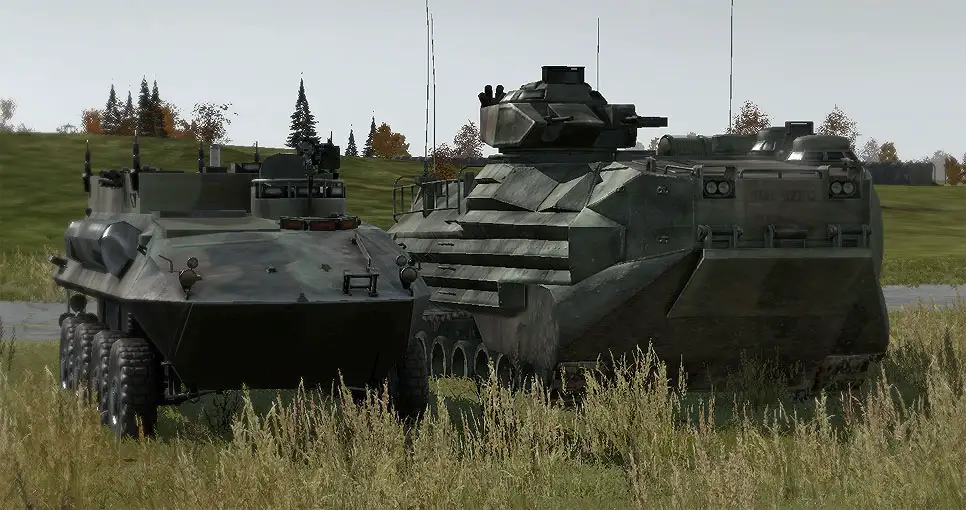
For our purposes, light armor has the weakest armor and weakest weapons - nothing more than a .50cal MG and a grenade launcher is typical for this class. Strykers with M2s and Mk19s, AAVs (Amphibious Assault Vehicles) that carry an M2 and Mk19, uparmored HMMWVs with any kind of armament, and the M113 with an M2 fall into the light armor class.
Light armor offers effective protection against small-arms fire but generally is vulnerable to anti-tank weapons like RPGs and various types of explosives.
Medium 
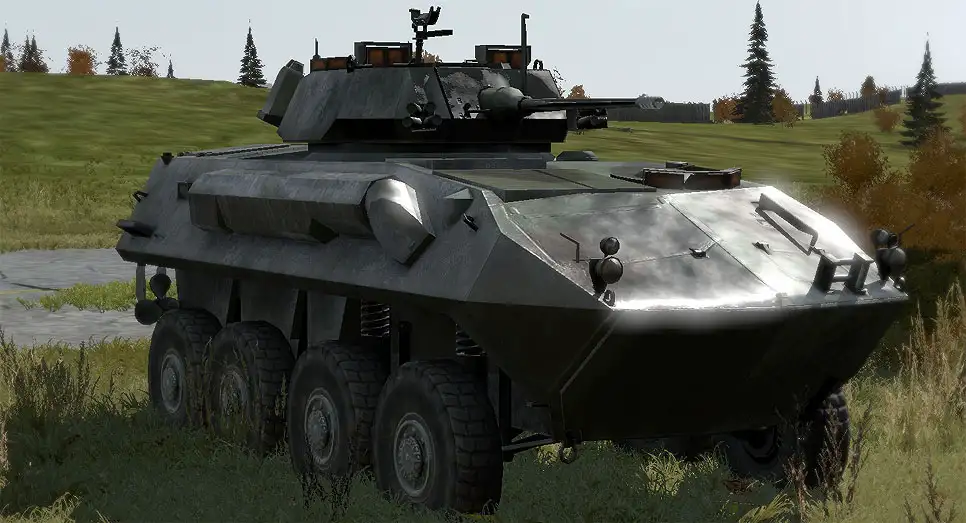
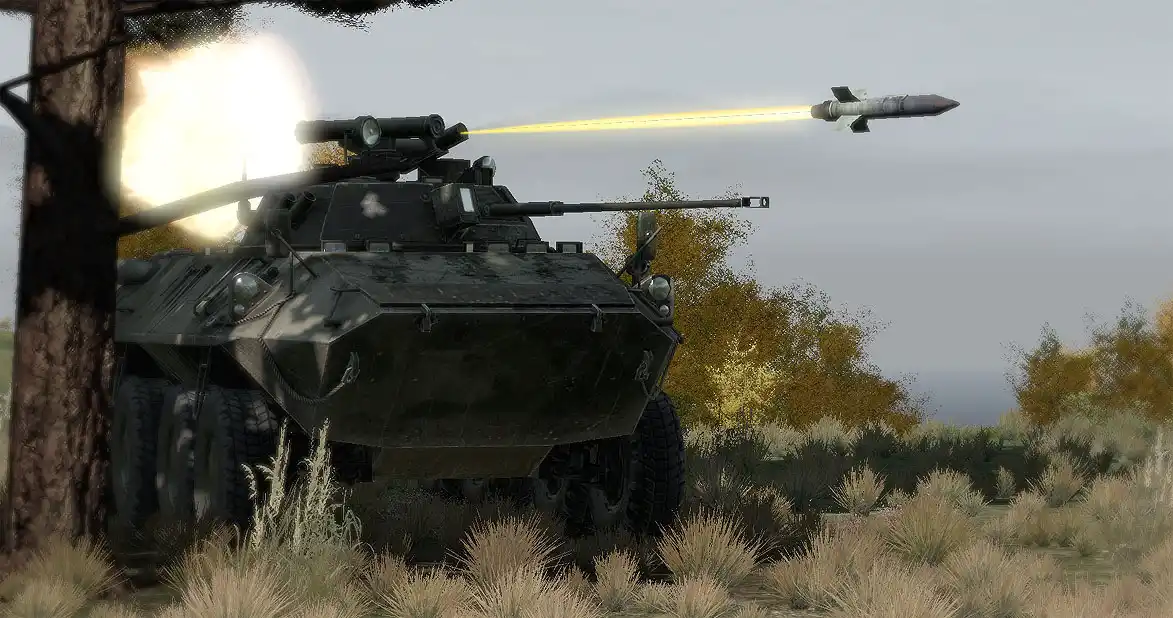
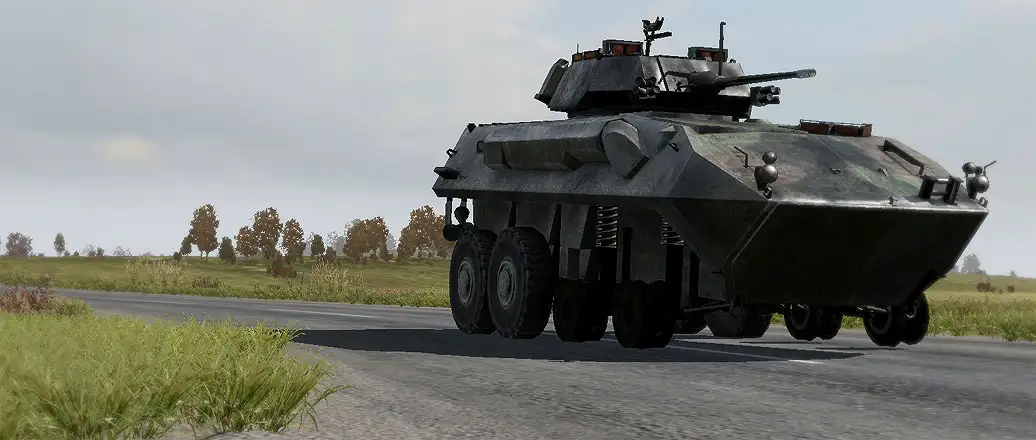
Medium armor tends to differ mainly by the armaments it has. Medium armor has at least a cannon (typically automatic). The Bradley IFV, Stryker MGS (Mobile Gun System) or ATGM (Anti-Tank Guided Missile), and LAV-25 are considered medium armor due to their markedly improved lethality compared to the light armor.
Medium armor provides excellent protection against small-arms fire and some (but not much) protection against infantry-carried anti-tank weapons. Their weapons allow them to wipe the floor with any enemy infantry and some of them are even effective against heavy armor thanks to ATGMs and such.
Heavy 
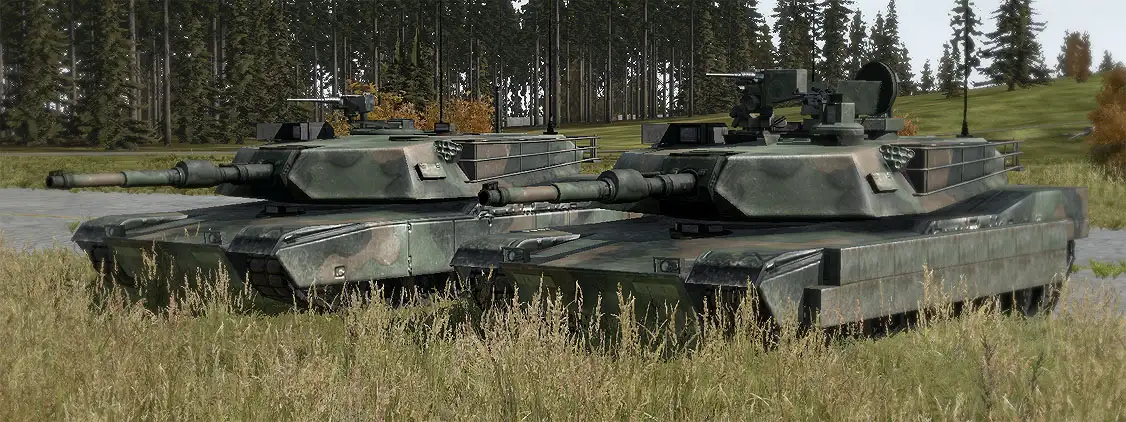
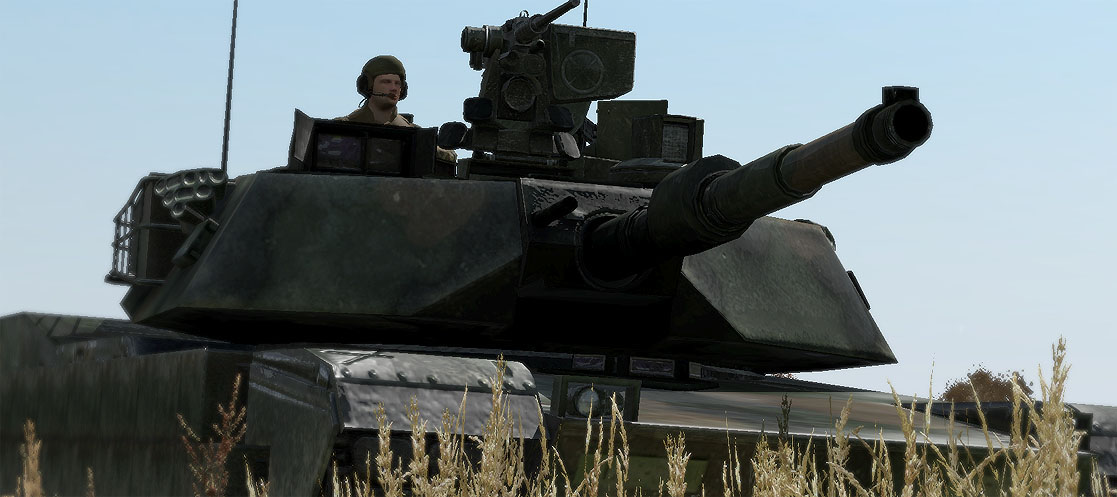
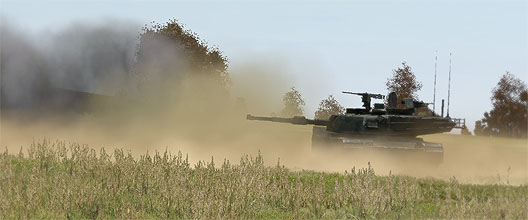
These are exclusively tanks. The M1A2 TUSK Abrams Main Battle Tank is our heavy armor. It has fearsome firepower, great armor, and is pretty much the king of armored vehicle combat. Heavy armor is the infantry's worst nightmare come to menacing life.
Armored Vehicle Roles 
Armored vehicle roles differ somewhat from those of soft vehicles, primarily because they are intended to be aggressively employed in a combat role. The drivers, commanders, and gunners of armored vehicles must be knowledgeable on what that means, and capable of carrying out the following responsibilities with competence.
Driver 
The armor driver is typically the junior member of the crew. His basic responsibilities include:
- Moving the armor in a tactical fashion from one tactical position to another, at the commander's orders.
- Locating and positioning the armor in hull-down and other protected positions when possible, with the assistance of the Vehicle Commander (VC) or Tank Commander (TC).
- Scanning to the front for mines, satchels, IEDs, and other threats or suspicious objects (such as oddly parked cars) that may be placed in his path.
- Listening to the commander or gunner for movement orders.
- Staying alert of friendly infantry positions and attempting to avoid them when tactically sound. The driver should also attempt to communicate his intent to reverse when in tight terrain with infantry nearby (ie: MOUT).
Gunner 
The armor gunner is responsible for employing the bulk of the armor's armaments. His basic responsibilities include:
- Scanning for the enemy. A gunner who is not scanning constantly is not doing his job.
- Calling out contacts as he sees them. This helps the armor commander prioritize his fires as needed.
- Listening for and acting on the vehicle commander's orders. An armor gunner oftentimes has a restricted view of the surroundings compared to what the commander sees, so it is important that he listens for orders and direction from those that can see more than him.
- Engaging the enemy and communicating what he is doing to the armor commander and driver. This includes letting the driver know when he is reloading the main gun, so that the armor can go turret-down if possible.
- Using the correct weapon for any given threat. The gunner should have the familiarity and judgment to not employ SABOT rounds against enemy infantry, as one example.
- Covering his sector and taking cues from other vehicles to know what sectors he should pay the most attention to.
Commander 
Often referred to as the 'vehicle commander' (VC) or 'tank commander' (TC), the armor commander is the senior member of the crew. He is in charge of his armor, and gives orders to both the gunner and driver in order to carry out whatever mission they have been tasked with. His basic responsibilities include:
- Directing the movement of his armor. He does this by giving move waypoints to the driver and giving guidance on how and where the vehicle should be moving.
- Coordinating with other armored vehicles or other friendly forces.
- Scanning for and designating targets for his gunner, specifying the method of engagement if needed.
- Employing the commander machinegun for close-in defense of the vehicle, or fire against light targets at other ranges.
Armor Crew Coordination & Comms 
Brevity words 
- Maneuvering
- Orient. Command to get either the vehicle or gunner to align themselves to a specific direction. There are different orientation methods possible, described in the next section.
- Hull down. Command to get the tank into a hull down position. More details (such as orientation direction) are given as necessary.
- Turret down. Command to retreat the tank into a masked, turret-down position.
- Jockey left/right. Command to maneuver the tank into concealment, shift left or right, then pop back up. Described in more detail later.
- Engagement
- Firing. Gunner alert to let the crew know he is firing his weapons.
- Long/Over. Commander or gunner has observed a shot that went over the target. Gunner must adjust lower to hit the target.
- Short. Commander or gunner has observed a shot that landed in front of the target. Gunner must adjust up to hit the target.
- More lead / less lead. Gunner needs to apply more or less lead to hit the target, based on the fall of his previous round.
- Hit. Commander or gunner has observed a shot that hit the target directly.
- Up. Main gun is ready to fire. Typically given after a reload.
- SMOKE, SMOKE. Emergency command from the driver or gunner to have the commander deploy smoke immediately and have the driver maneuver evasively. Note that if smoke needs to be employed in a non-emergency situation (ie - to screen infantry movements), the command becomes "Deploy smoke" and is spoken with less of an "oh shit!" intensity.
- Readiness
- On target. Gunner is on-target and ready to fire. Can also use "Tally", an air brevity term.
- Don't see/Not seen/No vis. Gunner cannot see the target that has been described to him. Can also use "No joy", an air brevity term.
Orientation 
When directing the movement or gunnery of a tank or armored vehicle, several methods of orientation can be employed. They are as follows.
- Orient. The command "Orient" informs the gunner or driver to align with the commander's orientation using the vehicle's diagram. This method is extremely quick and easy for the commander and gunner/driver but will not be as accurate as giving a bearing. Example usages follow.
- "Gunner, orient." Gunner turns turret to face the direction of the commander turret.
- "Driver, orient." Driver turns vehicle to face the direction of the commander turret.
- "Driver, orient on gunner." Driver turns vehicle to face the direction of the gunner's turret.
- Compass bearing. Using the digital compass the commander will read of his bearing to allow the gunner/driver to traverse to the same bearing. This method is very accurate but the gunner/driver may have difficulty quickly moving to the bearing. Example usages follow.
- "Gunner, orient 235". Gunner will orient to a heading of 235.
- "Gunner, target, 115 degrees, T-72." Gunner must traverse to 115 degrees to spot and engage a T-72 tank.
- "Gunner, your sector of fire is from 070 degrees to 165 degrees." Gunner will scan an arc stretching from 070 to 165 degrees until directed otherwise.
- Clock orientation. When using the clock method, the hull of the vehicle forms the 12 o'clock reference. Note that this method is not terribly accurate and should only be used at close ranges. It can also be used by any crew member (driver, passenger, loader) that spots a target which the turret crew hasn't seen yet.
- "Driver, friendly truck in trail at our 5 o'clock". Driver becomes aware of the fact that a friendly vehicle is nearby in a given direction. If he needs to back up unexpectedly, he can attempt to avoid maneuvering to the 5 o'clock position in the hopes of avoiding hitting friendlies.
- Relative direction. Relative directions are the simplest and most coarse orientations possible - this is simply the act of saying "Left", "Right", "Front-left", et cetera. Relative directions are most commonly used when guiding the driver or shifting fire from a known point. Example usages follow.
- "Driver, friendly infantry on our left, very close." Driver becomes aware of friendlies nearby, which causes him to be more cautious in his maneuvering.
- "Gunner, orient right, scan the treeline." Gunner will maintain an orientation to the right of the vehicle as it moves, scanning the designated treeline for enemy targets.
- "Gunner, from your last shot, shift right one hundred meters and engage that bush line." Gunner will shift his fire to a bush line near where his last shot landed and engage it.
The Tank/Vehicle Commander in Detail 
Tank/Vehicle Commanders have a great many responsibilities and things they must stay aware of in order to effectively employ their vehicles and keep their crews alive. The following sections detail some of the more significant aspects of what they are expected to do.
Tips for Tank Commanders 
- Do not move forward from an over watch position or battle position. Jockeying to a new position or backing away from the position and going around on the low ground are usually better choices.
- Stay on low ground as much as possible. Moving on top of of ridge lines and over hilltops will skyline the vehicles.
- Once your hull-down tank has been spotted and has received or is likely to receive incoming fire, go turret down and jockey to a new position. Jockeying is described in further detail a bit later on - it is simply the act of changing positions in a concealed manner so that the tank can pop up in a different location each time it engages the enemy.
- Ensure your crew is aware of where likely enemy threats are, and is oriented as best as possible before any contact is made. Predicting where the enemy is and looking in their general direction is far better than being caught by surprise and having to react to their fire.
- Prioritize your threat selection and engagement based on the capabilities and imminent danger posed by the enemy. Enemy armor and ATGM systems are always the highest priority, followed by unguided rocket soldiers, and finally everything else.
Directing the Driver 
- You should only move as fast as your gunner can accurately observe and engage targets. Blitzing through an area will generally result in you taking fire that could have been avoided with a more deliberate movement scheme.
- Commanders must remember that the driver has restricted field of view. When referencing landmarks, bear in mind that they must be between 11 and 1 O'clock and at roughly the same elevation for the driver to be able to see them, unless he is turned out.
- When moving, taking the time to explain the desired position for the tank to end up at as well as the route to use will allow the driver to carry out the movement with minimal supervision. This may not be possible at all times, but when there is time for it, it can increase situational awareness by allowing the commander to scan for threats instead of focus so much on navigating the driver.
- While driving in formation with other vehicles, or in close support of friendly infantry, keep in mind that your driver will not be able to see them. Commanders must guide the driver in such situations.
- There will be a short delay when ordering the driver to stop, or execute any other command, due to both the lag in comms and the time it takes for armored vehicles to come to a stop. Give commands 2-3 second in advance or give commands such as "Driver, advance 10m" or "Driver, advance to the next intersection".
Directing the Gunner 
- As a vehicle commander, you should always be communicating the gunner's area of responsibility. Using bearings, clock ray or landmark reference are some of the many methods to set your gunners left and right of arc.
- Set your gunner's rules of engagement and keep them updated as the situation evolves. "Hold Fire", "Priority Targets Only" or "Fire at Will" are the most common. "Priority Targets Only" will inform the gunner to only engage targets that pose a threat to your vehicle or other friendly forces. It is generally advised to have a gunner set to "Fire at will" to ensure the quickest reaction to threats.
- Use your gunner's improved optics to observe distant targets. Your gunner will be able to aim at anything suspicious that you can't identify through the commander periscope and get a clearer ID on it - you simply need to orient him on such suspicious things in the first place.
- Continually inform your crew of the positions of friendly elements to maintain their situational awareness. As the vehicle commander, the rounds that come from your vehicle are ultimately your responsibility. Ensure that they're only being sent towards the enemy.
- Your view through the commander's periscope will be different from the gunner's view through the primary gun sight, due to the commander being elevated somewhat. Remember this when working with your gunner, as terrain features could block line of sight from one of the view ports for him without necessarily obstructing your view.
- Keep the gunner's orientation in mind when moving in close terrain or urban areas. The cannon extends past the side of the vehicle when at the 9 or 3 o'clock and can collide with passing objects. While this will not damage the cannon in A2, it will jar the vehicle and disrupt movement.
Commander Initiated Engagement 
A commander initiated engagement (CIE) is similar to the contact report used by infantry, but tailored towards the equipment and requirements of armored vehicle crews.
It is important that the commander is quick, clear and concise when giving a Commander Initiated Engagement. Passing the vital information in a timely matter will ensure the safety of yourself, your vehicle and other friendly elements. To this end, let's take a look at the different components of a CIE.
- Alert. Identifying the position "Gunner" is the standard alert; however, the infantry word "Contact" or "Target" is also acceptable. This will alert the gunner a CIE is about to follow.
- Orient. There are three common methods to orient the gunner on target. Choosing which method will be determined by the VC's preference and the difficulty for the gunner to find the target. They are the same as those detailed above in the "Orientation" section.
- Describe. Quickly describe what exactly the target is - for example, whether it is a BMP or an enemy squad in the open. This will confirm for the gunner what his precise target is, which is of particular importance when multiple threats may be present in a given area. Brevity should be exercised in this step as speed is very important in a CIE.
If the gunner observes the target, which should hopefully be the case, he will verbally state "On" to inform the VC he is observing the target. If the gunner cannot find the target the command "Not seen" will be used to inform the VC he needs to expound on the CIE to get on target.Once the gunner is on target, the commander will finish the CIE by designating the weapon system to be used (Coax, SABOT, HE, etc.) and end with the command "Fire".In the interest of saving time, which in turns saves lives in vehicle engagements, the commander can give the weapon system and "Fire when ready" command after step 3. This will inform the gunner to fire as soon as the target is in sight.
Once you have given a CIE and the gunner is engaging the target, begin to scan for other targets. Your gunner will be able to observe the target and finish it, while you should be worried about any other enemy threats that may be around. Ideally, you will spot a new threat and give your follow-on CIE commands just after the gunner has finished destroying the initial threat.
Typical Armor Threats 
The following threats are the most common ones encountered by armored vehicles. I have avoided mentioning two other possible threats - cannons and artillery - which can be read about in other sections.
Infantry Anti-Tank Rockets (AT) 
Infantry anti-tank rockets are the unguided weapons most commonly found in infantry units to protect them against enemy vehicles and armor. They come in a variety of types, with some being single-shot disposable systems (AT-4, RPG-22, LAW), while others have a reloadable component with a variety of warhead types to select from.
Depending on their size and warhead, these can cause significant trouble for most armored vehicles. They will not outright destroy main battle tanks with a single shot as a general rule, but their stronger variants can do that to light and medium armored systems, and massing multiple launchers can greatly enhance their effectiveness.
Due to their unguided nature, AT rockets tend to have a relatively short effective range, particularly when employed against moving or obscured/masked vehicles. A long shot is considered to be beyond 400m, and none of them are capable of reaching a kilometer.
AT rockets are capable of causing mobility and firepower kills, as well as injuring any personnel embarked in a vehicle. The best way to avoid them is to be vigilant in scanning, utilize proper movement techniques, and be able to think like an enemy AT soldier and predict how they might be employed against you.
Anti-Tank Guided Missiles (ATGM) 
ATGM's come in three main types on the ground - infantry carried, such as the Javelin, crew-served, such as the TOW, or crew-served vehicle-mounted, such as the TOW HMMWV. They are also featured on rotary- and fixed-wing aircraft, like the TOW, Hellfire, and Maverick missile systems.
ATGM's are guided missiles with powerful warheads that can wreck armored vehicles with ease. They are incredibly dangerous weapon systems. The only defense against them is doing whatever you can to not be shot at - once they're in the air, nothing short of vehicle armor and active defense systems (which A2 does not have by default) can save you, and neither is 100% effective.
Anti-Tank Mines 
AT mines are heavy, powerful mines that can tear the guts out of most armored vehicles with ease. They are triggered by pressure and magnetic detection, generally - if a heavy enough vehicle drives over them, they detonate, sending a fierce explosion up into what is typically the weakest armor of any vehicle. Mines are place-and-leave weapons that do not require an enemy to be nearby to detonate them.
Depending on where the mine is when it detonates, a vehicle can either be outright destroyed (such as if it detonates directly under the hull) or simply disabled (such as when it detonates under the wheels or tracks).
AT mines are best avoided through the careful observation of the vehicle crew and any attached infantry.
- good emplacement makes them almost impossible to spot while moving at speed."
Satchels 
Satchel charges are explosive packs that can be used in an anti-tank capability when needed. They are similar to mines in their destructive ability, differing primarily in how they are detonated. A satchel must be either set on time detonation or remotely detonated, and if remote, the triggerman must be within several hundred meters of it to be able to send the signal.
By virtue of a manual detonation mode, a satchel charge can lay dormant while lead vehicles pass it, with the triggerman waiting until a vulnerable vehicle gets near it before detonating.
Like mines, satchel charges are best avoided through the careful observation of the vehicle crew and any attached infantry.
Tips for Armor 
Hull Down 
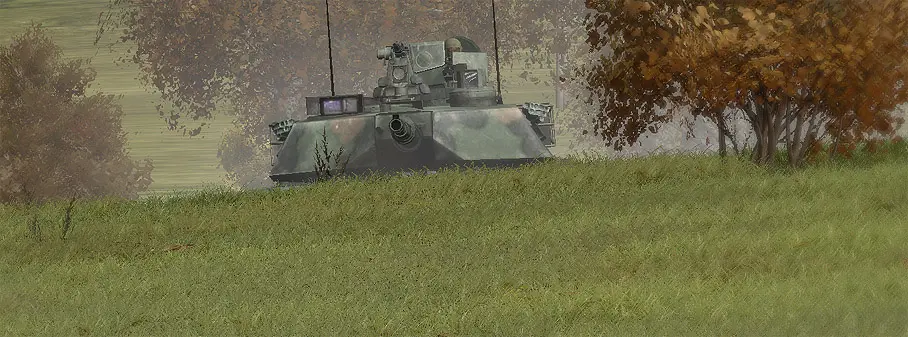
"Hull down" is the term used to describe when a vehicle (typically a tank) uses the terrain in such a way that only the gun/turret is visible to enemy forces. This provides the enemy with a smaller target, protects the more vulnerable parts of the vehicle from enemy fire, and allows the vehicle to fire more or less unhindered.
The illustration below shows an M1A2 tank in a hull-down position behind a small rise. From this location, the tank had perfect visibility of a major enemy avenue of approach and had a clear line of fire down that approach without having to expose anything more than the turret to enemy return fire.
Hull down positions can be used by any vehicles that have weapon systems atop them - even a HMMWV with a TOW can benefit from a hull-down position.
In the best-case scenario, a tank can utilize a hull-down position when firing, and then retreat back below the cover (i.e. down the slope that provides the 'hull-down' possibility in the first place) to total protection during the reload before popping back into a hull-down position for the next shot. Whenever possible, a tank should not pop back up at the same location it used last - a new one should be picked each time to prevent any enemies from zeroing in on their next exposure point.
Remember that a hull-down position is relative to the location and distance from the enemy. The greater the distance of the engagement, the more likely you can get into a hull down position even in a small elevation decrease.
"Turret down" is when the entire tank is hidden behind the terrain or an obstacle.
Turning Out 
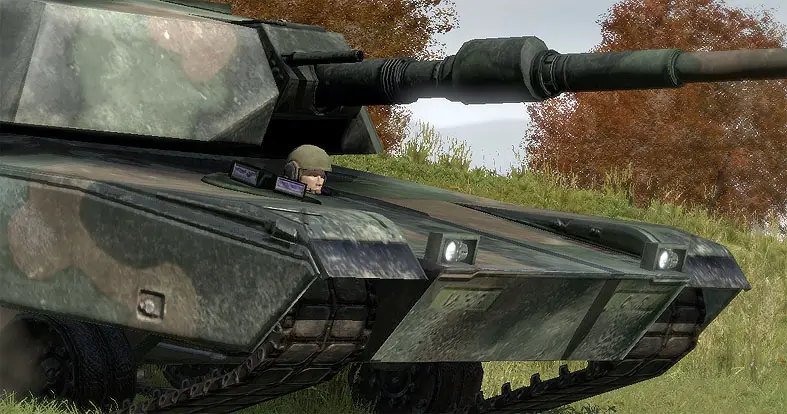
Unbuttoning is possible in most armored vehicles from the driver or commander position. It simply involves opening and standing in the hatch. This is very useful for keeping a high level of situational awareness and should be used whenever the situation allows for it. The main drawback is that many of the unbuttoned crewmembers are highly vulnerable to enemy fire due to the high-profile stances they take. However, if you exercise good judgment and only unbutton when it's safe to do so, you should be fine and will definitely benefit from the increase in SA.
Make sure that you have your turn-in/turn-out keys bound to something readily accessible - "stance up" and "stance down" are great for this. Having these keys bound makes it much easier to duck at a moment's notice, and generally increases the ease and usefulness of turning in/out.
Note that in some vehicles in ![]() , a commander may have to turn out to employ a machinegun on the vehicle. For vehicles that require the TC to stand in his hatch to use the machinegun, a careful assessment must be made as to when and where it is safe to do so.
, a commander may have to turn out to employ a machinegun on the vehicle. For vehicles that require the TC to stand in his hatch to use the machinegun, a careful assessment must be made as to when and where it is safe to do so.
Jockeying 
"Jockey left" or "Jockey right" are commands that a vehicle commander can use to have his driver move the vehicle laterally left or right behind cover without exposing the larger and weaker side profile to enemy observation or fire.
Jockeying is accomplished by backing the vehicle up to mask it from frontal fires, then turning left or right and driving a short distance laterally from the previous position. Once a suitable distance has been reached, the vehicle reorients towards the threat and advances up and back into a hull-down position from which it can resume engaging the enemy. This allows a vehicle to continually appear at different locations before firing, making it hard for the enemy to predict where it will appear and thus making it more survivable.
Vehicle Countermeasures & Equipment 
Countermeasures 
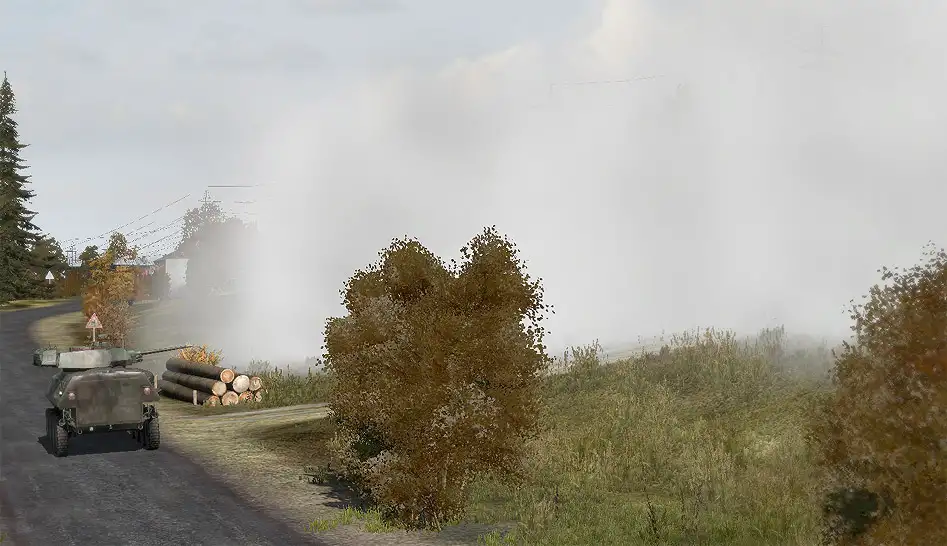
Many vehicles, armored and unarmored, are equipped with smoke dischargers for defensive purposes. These dischargers are most often mounted to the vehicle's turret, allowing the smokescreen to be laid in the direction that the turret is pointed.
The vehicle commander generally has control of the smoke system. He selects it as he would a normal weapon and presses 'fire' to deploy the smoke. The canisters will propel away from the vehicle in an arc, quickly deploying a thick white smokescreen after a few moments. This smoke can be used for a variety of purposes to screen friendly forces from enemy observation.
Many smoke systems have two or more deployments available before they will need to be reloaded at a supply position.
Bear in mind that smoke, used as a defense against enemy anti-tank assets, is only really useful if the vehicle moves after deploying it. Movement makes it much harder for any manually-guided missile systems to properly track the vehicle as well.
Armaments 
Ground vehicles come equipped with a wide variety of armaments. The most common types are described in this section, with the intent being to familiarize all players with the capabilities of the different weapon systems they will see employed from vehicles.
Cannon (large) 
Large cannons are the main guns on tanks, or standalone artillery pieces. They are capable of causing great damage to whatever they hit, but have a relatively slow reload time. The M1A2 has a 120mm smoothbore cannon which falls under this category.
Large cannons typically have a range of ammunition types to choose from, such as:
- High Explosive (HE). Purely intended to kill light vehicles, cause damage to structures and fortifications, and blow up infantry. These rounds simply explode on impact, using blast damage, fragmentation, and overpressure as their killing effects.
- Sabot. Sabot rounds are small, incredibly dense darts of metal that are intended to punch through enemy armor with sheer kinetic force. They are generally ineffective against troops but can be used to great effect against enemy vehicles and armor. They tend to be overkill for anything below a medium armor classification.
- High Explosive Anti-Tank (HEAT). Unlike sabot rounds, HEAT rounds rely on chemical means to attempt to defeat armored threats. They have a high-explosive component as well, making them dual-purpose in that they can harm both armored targets as well as infantry and other light targets. HEAT rounds are generally less effective than sabot rounds against modern armor, but handle anything less than that with ease.
- Anti-Personnel. The APERS round used by the M1A2 is an example of an antipersonnel round - imagine a 120mm shotgun and you get the general idea. The defining characteristic of such a round is the ability to more or less annihilate an entire platoon at a given distance in a single shot, assuming they were all exposed at the time. You really do not want to be on the bad end of these.
Cannon (small) 
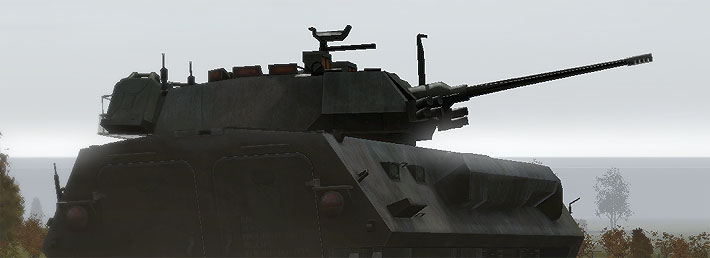
Small cannons are found on infantry fighting vehicles and other medium armored vehicles.
Small cannons (20-30mm) tend to have a rapid firing rate and are capable of using sabot or high-explosive rounds. They are superb at killing infantry and other similarly-classed armored vehicles, but come up at a distinct disadvantage when faced against main battle tanks. Cannons can be used to devastating effect when engaging masked urban targets - putting HE shells into a room, or blasting SABOT rounds through walls that hostiles are hiding behind, are both superb at wrecking an enemy defense.
The LAV-25 is an example of a USMC vehicle with such a cannon, with the BMP3 being a similar example of an OPFOR vehicle with a similar cannon.
Machinegun 
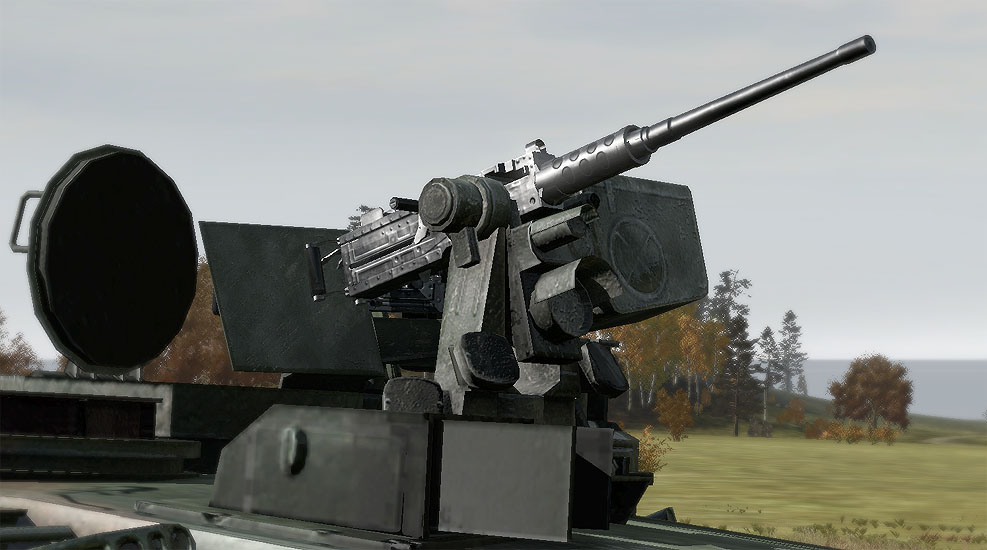
Every armored vehicle inevitably has at least one machinegun on it. Machineguns can range from medium-caliber like the 7.62mm M240 up to the heavy-caliber .50cal M2 Browning. They are used against soft targets such as trucks or enemy infantry, and can generally carry an obscene amount of ammo due to said ammo being stashed in the vehicle itself. Heavy-caliber machineguns can even be employed successfully against light enemy armored systems, and can also punch through walls that lighter machineguns cannot.
Machineguns come in several types of mounts on armored vehicles:
- Coaxial. Coaxial machineguns are sighted to the same place that the main gun is, and are controlled by the vehicle's gunner. Coaxial machineguns are employed to destroy infantry and soft vehicle targets, preserving the main gun ammunition for more significant threats.
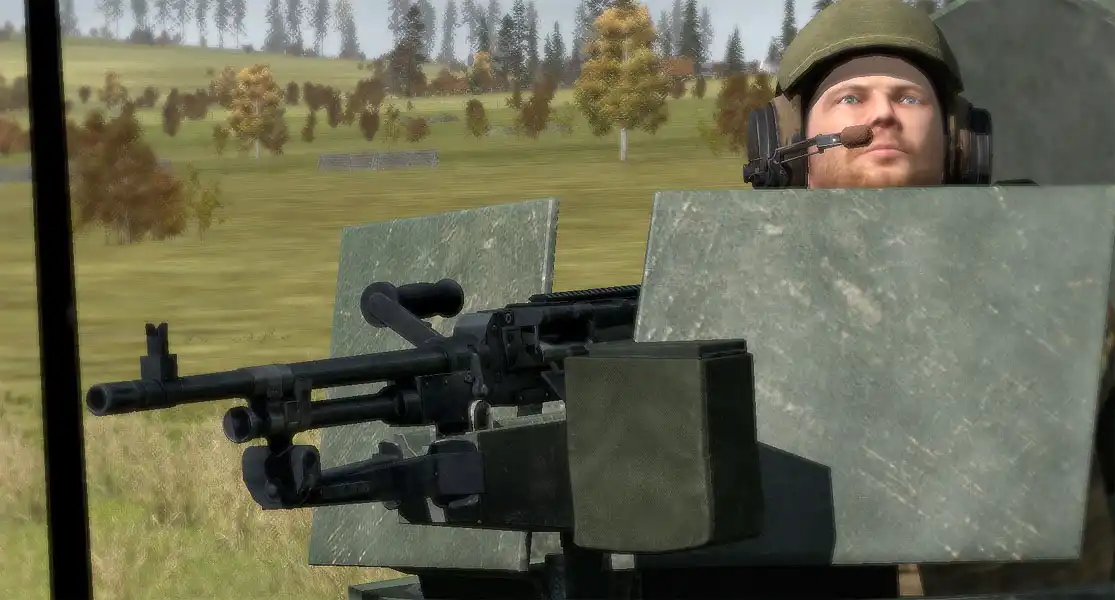
- Crew-operated external mounts. These machineguns are mounted on the outside of the vehicle, requiring the crew members to 'turn out' and manually operate them, which in turn leaves them vulnerable to enemy small-arms fire. An example of this would be the loader's M240 machinegun on the M1A2 TUSK.
- Crew-operated internal mounts. Some vehicles have internally-operated machineguns that can be employed by passengers of the vehicle. The US Bradley is one example of this, while the Russian BMP3 is another.
- Remote operated external mounts. These machineguns are mounted externally, yet use a sensor package/control system mounted internally that allows the crew to operate them without having to be exposed to enemy fire. The RWS (remote weapon station) weapon mount that the commander of the M1A2 TUSK has access to is an example of this type of mount.
ATGM 
Anti-Tank Guided Missiles are carried by a number of armored vehicles. These missiles are capable of outright destroying most armored threats and are very dangerous to face off against. ATGMs such as the US "TOW" give less-than-heavy-armor vehicles a fighting chance against main battle tanks. Most common ground-launched ATGMs require some sort of guidance/tracking of the target from launch time until impact.
ATGMs can also be employed effectively in an anti-bunker/anti-building capacity when the threat of enemy armor is not present.
Grenade Machinegun 
The grenade machinegun is exactly what it sounds like. Capable of firing dozens of grenades at a high rate of fire, these are superb weapons to use against enemy infantry, soft vehicles, and light armor. Their effects against heavier vehicles are generally unremarkable - by the time they can do enough damage, the heavier vehicle will have already blown them to scrap.
Grenade machineguns generally have a steeply arced trajectory due to their relatively low velocity, but the terminal effects of the grenades are independent of their velocity and stay lethal out to as far as they can be lobbed.
Turret Types 
ArmA2 introduces the ability to simulate the degree to which a turret is or is not stabilized. There are two basic types - non-stabilized and stabilized. Stabilized turrets can occasionally come in varieties where only one axis is stabilized, though that is rarer.
Non-Stabilized 
A non-stabilized turret does not have any special method to keep the turret pointed in a given direction while the vehicle is moving. Because of this, uneven terrain makes it difficult for the gunner to engage on the move or when the vehicle is turning. Non-stabilized turrets are most effective when the vehicle is at a complete stop and the gunner is able to aim effectively.
Two examples of non-stabilized turrets can be found in the HMMWV and AAV vehicles. Neither is particularly accurate if the gunner is attempting to engage while moving on rough terrain. Utilization of a non-stabilized turret weapon system requires a tighter coordination between the gunner and driver for good effects to be achieved.
Stabilized 
Stabilized turrets use special mechanisms to maintain their orientation and direction, within reasonable limits, while the vehicle maneuvers. Because of this, vehicles with stabilized turrets can engage effectively even when driving at high speeds, over rough terrain, or during turns and other vehicle maneuvers.
The M1A2 TUSK is a prime example of a vehicle with a stabilized turret.
Vehicle Damage Model 
While not a hardcore simulation-level damage system, the ArmA2 vehicle damage model does have a number of different damage effects that can present themselves, based on the location and severity of the damage. This section will describe them.
General 
Non-Catastrophic Kills 
Non-catastrophic kill is the result of a vehicle being knocked out without it violently exploding into flames. It is likely that one or more crew members have been killed in the process, and the survivors will likely be wounded. Due to it not always being clear when a vehicle has been knocked out in such a fashion, many gunners will put additional rounds into the vehicle until they get secondary explosions, flame, or some other visual indication that the vehicle is no longer a threat.
Catastrophic Kills 
A catastrophic kill happens when the vehicle explodes violently from battle damage. If the crew is inside when this happens, they won't have a chance and will be obliterated in the blast.
Secondaries 
A vehicle which has been knocked out, either via a catastrophic or non-catastrophic kill, will likely have secondary explosions if the vehicle burns. Secondary explosions are caused by the vehicles ammo or fuel exploding, and they can easily take out any nearby dismounted infantry. STAY CLEAR OF ALL KNOCKED-OUT VEHICLES!
Fire 
Destroyed vehicles that catch fire will cause damage to any players that get close to them in ![]() . As it says above, stay clear of all knocked-out vehicles. Nothing good can come from getting up close to them.
. As it says above, stay clear of all knocked-out vehicles. Nothing good can come from getting up close to them.
Wheeled 
Flat Tires 
Most wheeled vehicles are susceptible to having their tires flattened by enemy fire. This makes the vehicle difficult to control, usually with it tending to turn heavily into the tire(s) that were damaged. Drivers should attempt to keep their vehicle moving for as long as possible and attempt to get out of the kill zone before abandoning the vehicle (if necessary).
Tracked 
Tracked vehicles can suffer a number of different types of damage.
Tracking 
Tracking is known as a "mobility kill". When a vehicle is tracked, it means that they have lost the use of one (or both) tracks and can no longer move in a controlled fashion. The vehicle becomes a stationary turret for all intents and purposes. The vehicle crewmen should stay put if they can safely do so and fight from within their vehicle. If this is not possible, they need to immediately bail and make their way to friendly infantry positions.
Disabled Turret/Gun 
A solid hit to an armored vehicle's turret can cause it to lock up and become unresponsive. In this case, the tank may or may not be able to effectively engage the enemy, depending on whether the gun is active and how it is oriented. In most cases a tank which has lost use of its turret needs to get out of the combat zone and head back to friendly territory for repairs. When the loss of the main armament has been sustained, it is referred to as a "firepower kill".
 新規
新規 編集
編集 添付
添付 一覧
一覧 最終更新
最終更新 差分
差分 バックアップ
 凍結
凍結 複製
複製 名前変更
名前変更 ヘルプ
ヘルプ
