![]()
Armored vehicles are powerful force multipliers in the combined arms battle. When properly employed with the support of infantry, the combination is difficult to match.
The most common armored vehicle assets that USMC units will have with them, in increasing order of power, are the AAV7, the LAV-25, M1A1, and finally the M1A2 TUSK. The AAV7 and LAV are light and medium armor, respectively, while the M1A1 and M1A2 are heavy armor that can dominate a battlefield.
Being familiar with and knowing how to work with armor are critical skills for infantry and vehicle crews to have. It starts with knowing what the pros and cons of armored employment are in A2.
Pros & Cons of Armored Vehicles in Combined Arms Operations 
The pros and cons of armored vehicles in the combined arms role are as follows.
Pros 
- Powerful weapon systems and optics. Armored vehicles generally have cannons, machineguns, and sometimes even missile systems. These allow them to knock out strongpoints (bunkers, fortified houses), locate and kill snipers, and protect friendlies against enemy armored threats. They also provide excellent overwatch.
- Armored & survivable. Armored vehicles, as their name implies, are capable of taking some punishment. They are generally invulnerable to small-arms fire and require multiple anti-tank rockets to disable or destroy them. Armored vehicles can even be used to screen friendly infantry movement by driving slowly and allowing the infantry to move with them, using the armor as cover.
- Can coordinate closely with infantry. When properly employed, armor is integrated with infantry and works alongside them, allowing the two to mutually support each other and increase effectiveness.
- Fast & responsive. Armored vehicles can move quickly around the battlefield, allowing them to exploit enemy weaknesses at a moment's notice.
- Intimidating to enemy infantry. Unless well-equipped with reliable anti-tank assets, armored vehicles tend to intimidate enemy infantry and cause them to be very defensive and non-confrontational. This is generally due to the infantry not wanting to draw the armor's wrath unnecessarily.
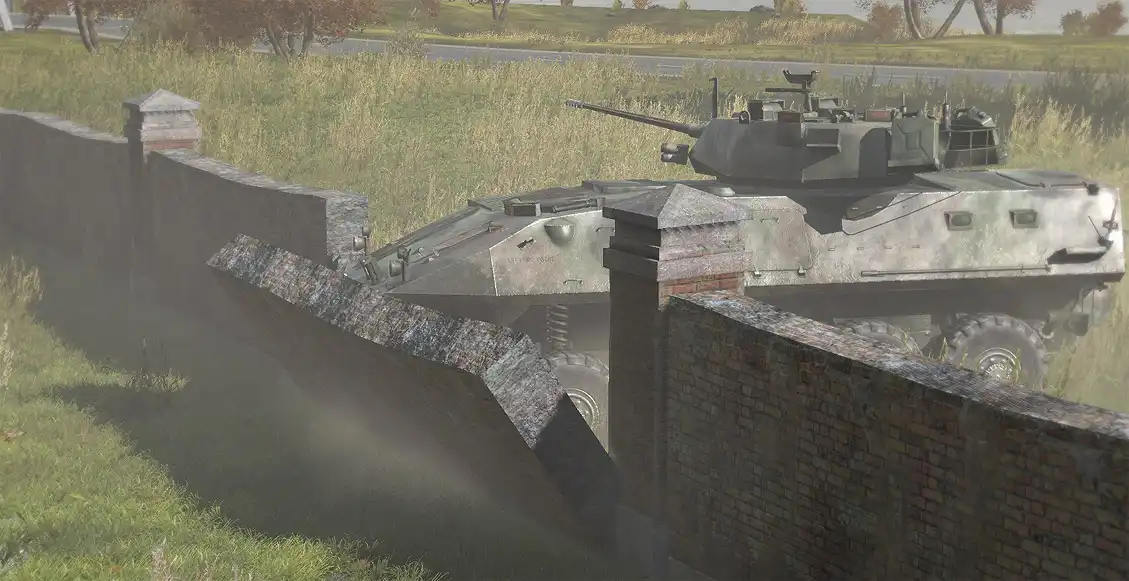
- Breach capability. The tough armored hull of an armored vehicle enables it to smash down walls to make unexpected entry points for supporting infantry.
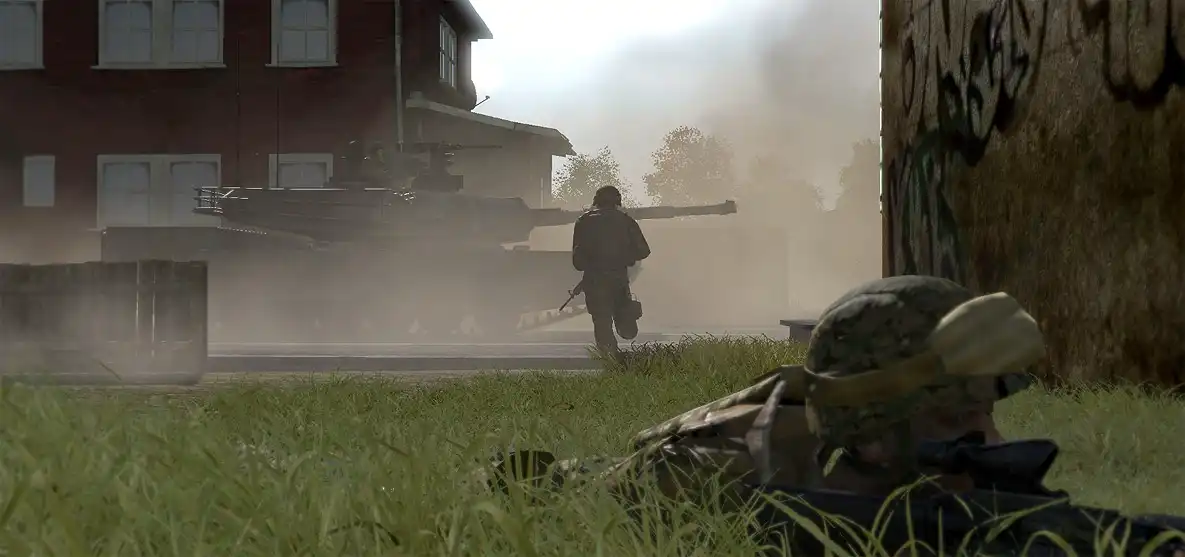
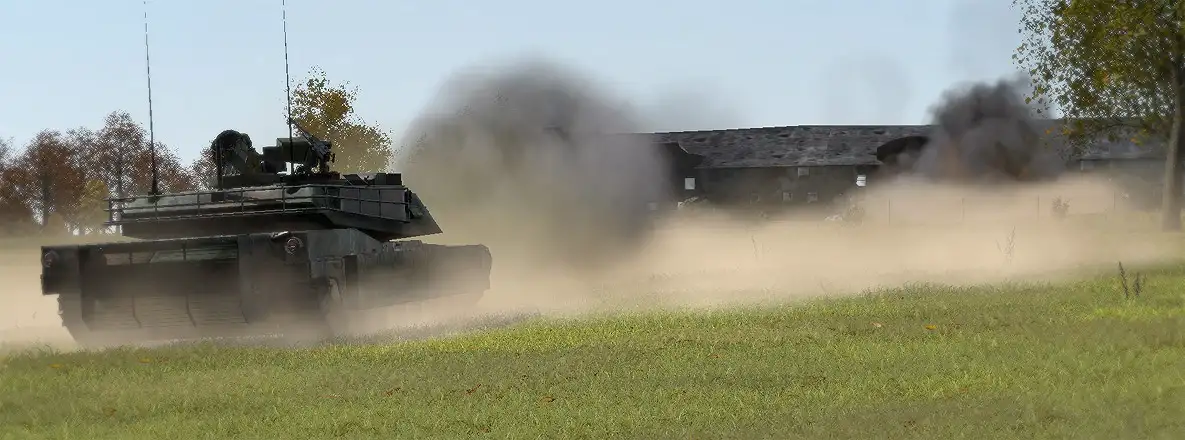
- Smoke capability. Armored vehicles are often equipped to deploy large smoke screens on short notice. These can mask friendlies from unexpected and sudden enemy contact, or provide concealment for an assault or similar.
Cons 
- Loud, large, and visible. Armor typically is a loud, visually distinct and noticeable element on the battlefield. Loud engines, tracks, turrets, cannons, and other weapon systems tend to make armored vehicles stick out prominently. It requires a great deal of crew skill to move a vehicle in such a fashion that it stays concealed while still remaining effective in the fight. "Hull down" techniques are key to learn if such employment is to be successful.
- Limited observation of close threats. Most armored vehicles have a hard time maintaining awareness of the areas directly around their vehicle. It is possible for their crew members to 'turn out' to see better, but this has the downside of making them vulnerable to enemy small-arms fire.
- Vulnerable to ATGMs, cannons, and enemy armored vehicles. Designed for fighting armor specifically, these weapon systems pose a significant threat to friendly armored forces. ATGMs and cannons can wreck an armored vehicle easily, while enemy armored vehicles can carry a wide range of nasty weapon systems that can do the same. The manner in which these systems can be concealed in defensive or ambush positions makes them all the more challenging to counter.
- Vulnerable in close and urban terrain. Due to their limited observation aspects, armored vehicles are at a situational awareness disadvantage when operating in close or urban terrain.
- Extremely vulnerable to enemy air assets. Attack helicopters and close air support jets pose a serious threat to armored vehicles and can knock them out with ease once located.
Infantry/Armor Coordination 
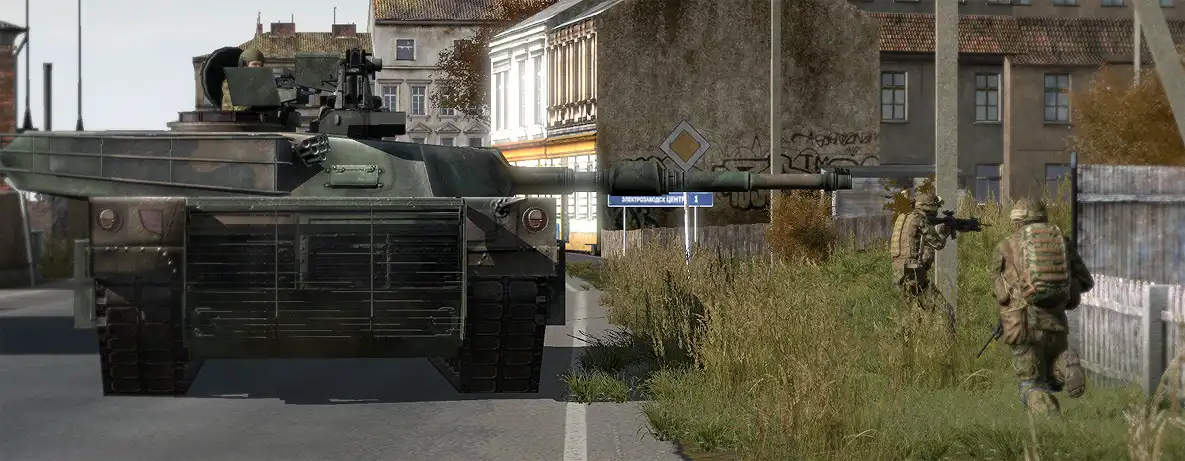
As you can see from the above list, the key to successful infantry/armor integration is mutual support. An armored vehicle without infantry is vulnerable, just as infantry without armored support are vulnerable.
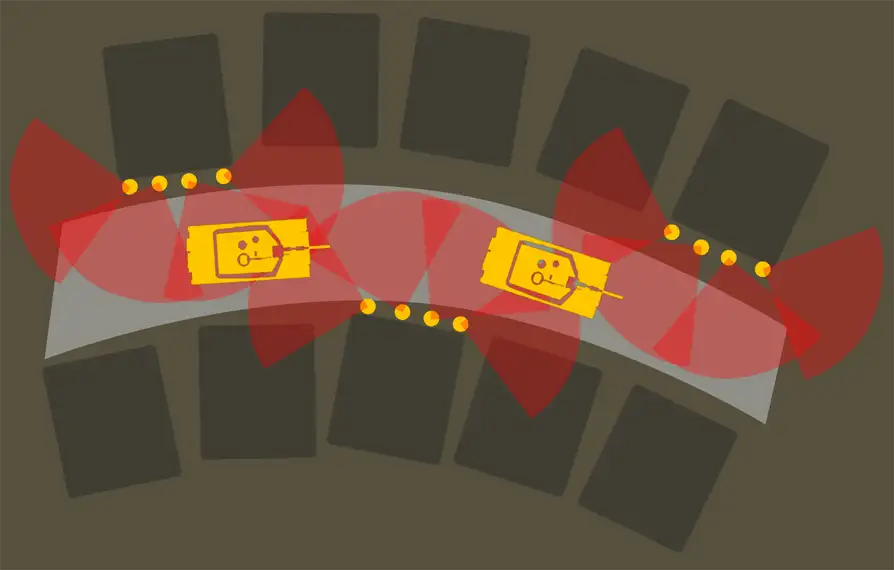
When in close terrain (such as dense woods or urban environments), it is beneficial to have infantry dismounted and moving on all sides of the armor. Infantry should lead the armor in such a situation, to prevent the armor from stumbling into an anti-armor trap or ambush.
Armor/infantry coordination in close terrain requires a great deal of communication back-and-forth. Armor need to know where the friendly infantry are, where the enemy is, while infantry need to communicate to the armor where it should move, whether there are any friendlies close to the armor (perhaps in its blind spot), where they suspect the enemy to be, and so on and so forth.
Infantry bring the following benefits to armored vehicle crews when employed together.
What Infantry Provide to Armor 
- Dispersed eyes-on-the-ground which can stay alert for threats such as:
- Enemy anti-tank threats - AT gunners, cannons, deployed ATGMs
- Enemy armored vehicles
- Mines, satchels, and IEDs
- Ability to spot targets without exposing the armor, and then direct the armor's movement and fires to kill the targets efficiently.
- Protection in close terrain.
- Guiding movement in close terrain.
Guidelines for Infantry when working with Armor 
- Keep a healthy distance from the armor. Armored vehicles have a hard time seeing infantry close to them. Since you're a squishy infantryman, it's a good idea to keep your distance from the armor. In particular, you want to avoid being behind them unless they are deliberately providing cover for friendly infantry. If not, they are apt to throw into reverse without any warning, which can result in pancaked infantry quite easily.
- Watch out for overpressure from tank main guns
 . The blast overpressure that comes from the main gun being fired can severely injure anyone nearby. Stay clear of tanks when they are likely to be employing the main gun.
 - Screen the tank in close terrain, ensure infantry are moving ahead of it as well. Infantry should be moving in a fashion that allows them to observe and cover any threat avenues before the tank becomes visible to them. This is intended to spot ATGMs, RPG teams, and other infantry threats so that the armor can be warned, or the infantry can kill them before they have a chance to do anything.
- Identify and communicate threats to the armor. Whenever a known or suspected threat is identified, the armor should be informed of it as appropriate. If the threat is high, this typically means that the armor will be told to stop while the infantry clear it out.
- Identify and communicate any threats to the infantry that the armor can instead handle. Some threats will exist that will not be a danger to the armor, but may pose a severe threat to infantry. Typically these take the form of enemy infantry concentrations, snipers, machinegun bunkers, and other forces that can hurt infantry yet do not pose a threat to armor. When these are identified, it is the job of the infantry to direct the armor so that the armor can eliminate the threat.
- Be aware of the armor's breaching abilities, and request them when appropriate. More info follows in the "Breaching with Armor" section, below.
- Armor can act as part of the base of fire, freeing up more infantry to participate in an assault. While you will generally want to keep infantry with the armored base of fire to provide close protection, you won't need as many people in the actual base of fire due to the magnified optics and powerful weapons of the armor being a force multiplier.
during a MOUT fight"
Guidelines for Armor when working with Infantry 
- Infantry are squishy. Particularly in close terrain, make an effort to not run over them. They really don't appreciate becoming tread grease.

- Be mindful of overpressure dangers to the infantry
 . Don't fire the main gun of a tank when in close proximity of infantry unless absolutely necessary, or if you are positive that supporting infantry are clear of the overpressure danger zone.
 - Let the infantry lead in close terrain. An anti-armor ambush will wait for vehicles to present themselves before firing. If infantry are leading, they will have an opportunity to spot the hidden ambush elements before the armor comes into view, since the ambushing elements will typically be waiting to fire.
- If necessary, the armored vehicle commander can dismount to talk directly with the supporting infantry. Do so in cover, of course. This can be useful for 'terrain familiarization' discussions.
Armor as Overwatch 
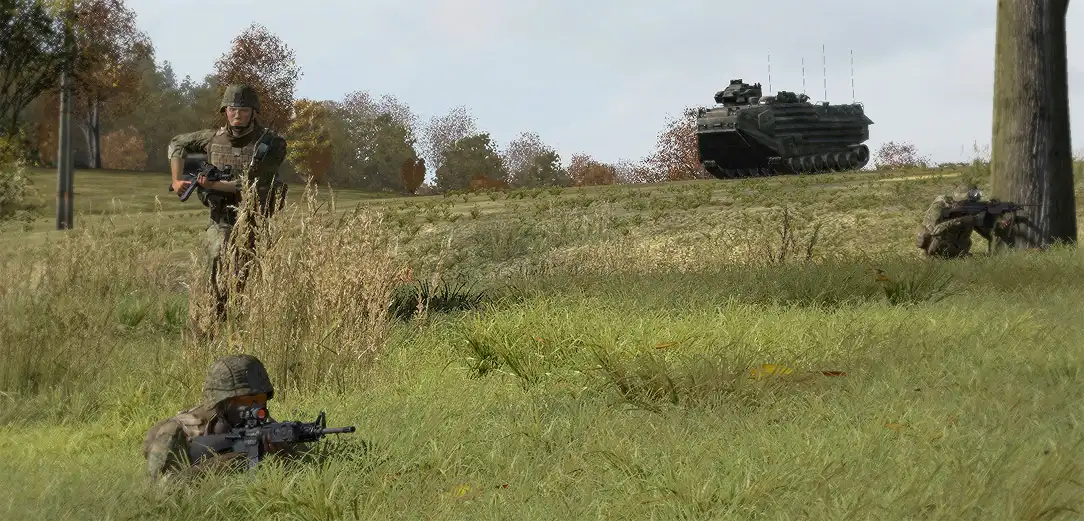
One of the defining attributes of armor when in support of infantry is the ability for it to stand off from the battle and deliver accurate fires from beyond the effective range of the enemy.
This can be brought to bear with infantry by providing overwatch of infantry elements as they move to contact. An armored vehicle can suppress the objective with machinegun fire, take out fortified positions with cannon fire, and provide immediate accurate fire upon any threats that might emerge to oppose the infantry. This allows for the infantry to rapidly move up to the enemy positions with the minimum of risk.
Having an armored vehicle many hundreds of meters away from suspected enemy positions also helps to lessen the likelihood of enemy anti-tank gunners being able to engage the armor. This comes most into play with unguided anti-tank rockets like the RPG-7; guided weapons tend to have much longer effective engagement ranges and are not as easily defeated by range.
In short, armor is much more effective against infantry at a distance than infantry are against armor at a distance. Take advantage of this at all times, and especially when providing support to dismounted infantry elements.
Breaching with Armor 
Breaching a wall with the help of an armored vehicle is a good way to surprise defending enemy forces and give your infantry a fighting chance. Typical enemy defenses focus on natural "choke points" such as a central entry to a compound that is otherwise walled off. Breaching a wall in an unexpected place and attacking through the breach is an excellent way to catch the enemy off guard and destroy them before they can shift their defenses.
General Procedure for Mechanical Breaching 
The process for breaching with any armored vehicle is fairly simple.
- Assess the situation, decide on a breach location. Be on the lookout for mines, satchel charges, IEDs, or any other devices that might be in place to protect against the possibility of a breach at the location chosen.
- Once the breach point is finalized, the breach vehicle proceeds towards it at full-speed and smashes a hole in it. When about to impact the obstacle, the breach vehicle fires smoke dischargers if available. This will mask it upon breaching and provide concealment to the infantry.
- After creating the hole, the vehicle immediately reverses out of the breach point to clear a way for the infantry. The reasoning behind having the breach vehicle withdraw after creating the breach versus charging into the unknown is simply that it increases the survivability of said vehicle. While a tank might be able to drive through the breach point, plant itself on the other side, and obliterate everything that opposes it, lighter infantry fighting vehicles will end up being disabled or outright destroyed by things like AT-4s, RPGs, and other light anti-tank weapons. It's a safer bet to simply have the infantry secure the area before bringing light armor in.
- Infantry proceed in from either side of the breach and assault through it while the breach vehicle provides overwatch.
Notes about Ballistic Breaching 
Bear in mind that walls can also be breached with cannon and machinegun fire. HEAT rounds from tanks will flatten walls, while a box of .50cal bullets will crumple some as well. Note too that "prepping" a breach point with .50cal rounds from an APC can soften up a wall and make it easier to breach.
When breaching a wall from a stand-off location via cannon or machinegun fire, the breach vehicle simply ensures that no friendly forces are within a danger radius of the breach point. Once that is confirmed, they direct fire onto the breach until it opens, at which point they shift fire to allow the infantry to storm in.
and clear anything not destroyed by the main gun rounds"
Dealing with a Minefield 
Minefields are not frequently encountered in the scope of ArmA2, but when they are, they can be devastating if not properly approached. The first sign that a minefield has been encountered is typically a vehicle having its track blown off or possibly being outright destroyed. When this happens, the assessment must be made very rapidly that the threat is from mines and not ATGMs or concealed enemy armor. Due to minefields frequently being covered by anti-tank weapons, it may not be a simple matter to identify the threat as mines and not simply attribute their effects to any AT weapons that might begin firing after the initial mine explosion(s).
Once the mine assessment has been made and the element leader calls out that a minefield has been entered, the most likely way to deal with it is for all vehicles to immediately shift into reverse and attempt to back out of the field the way they came. This gets the vehicles out of any kill zone that might exist that is focused on the mined area. If a vehicle has been disabled by a mine, the crew will abandon it and head out of the minefield on foot.
If the minefield must be breached, engineers will need to sweep ahead of the vehicles to locate and disable all the mines. The engineers should focus on clearing a lane through the minefield that is about one and a half to two times as wide as the vehicles that will be passing through it. Trying to clear the entire field takes too many people and too much time to be practical in most situations.
During the lane clearing operation, all available armor and infantry will provide overwatch on the engineers. They will suppress or destroy any threats that emerge. Smoke should be employed to mask the clearing operation when feasible, and the engineers may need to crawl to clear their lane if enemy fire is heavy enough.
Note that if an engineer becomes a casualty due to enemy fire or explosives, a supporting infantryman will move in to pull him out, get him to cover or concealment, and administer first aid or call for a medic (![]() -only). The engineers will ignore their wounded and dead and leave their evacuation and treatment to the supporting infantry.
-only). The engineers will ignore their wounded and dead and leave their evacuation and treatment to the supporting infantry.
Once a lane has been cleared by engineers, a single engineer will act as a "ground guide" that the vehicles will follow through the lane. This acts as a final set of eyes on the ground, scanning for any left over mines, as well as giving the armored vehicles (which may have limited visibility) a clear reference to follow through the safe lane.
 新規
新規 編集
編集 添付
添付 一覧
一覧 最終更新
最終更新 差分
差分 バックアップ
 凍結
凍結 複製
複製 名前変更
名前変更 ヘルプ
ヘルプ
