![]()
In ArmA2, helicopters provide infantry with both transportation and fire support. They are the most tightly-integrated air asset available to ground troops and act as a major force multiplier. Helicopters are commonly employed in a support role, and all players are expected to be familiar with their employment in the combined arms fight. That familiarity begins with knowing the pros and cons of their combined arms role.
Pros & Cons of Helicopters in Combined Arms Operations 
The pros and cons of helicopters in the combined arms role are as follows.
Pros 
- Observation. Helicopters are great at reconnaissance and security. This is in part due to their relatively low speed and the low altitude that they operate at, combined with observation pods on many of the most common helicopters employed.
- Insertion/extraction capability. Helicopters can airlift troops and drop them at will nearly anywhere they want. This allows for great flexibility in planning operations.
- Orbit capability. A helicopter can stay "on station" over the ground forces it is supporting with ease, due to the dynamics of helicopter flight as compared to what jets are able to do. A helicopter that is orbiting over friendly forces is available to provide support in the form of machineguns, cannon fire, rockets, ATGMs, or observation, depending on the variant and armaments.
- Rapid reaction to CAS requests. Due to the ability to orbit as described previously, a helicopter acting in a CAS role can rapidly react to any support requests made. This reduces the time between a CAS request being made, and rounds landing on target. This, in turn, makes it more likely that the CAS will be able to suppress or kill the enemy threat before it can do harm to friendly forces.
- Precision CAS. Helicopters can be very precise in their employment of fires, due to speed, altitude, magnified optics, the capability to hover, et cetera.
- Stealth. Helicopters can get low to the ground and can hide in terrain in a fashion similar to ground vehicles or even infantry. They can transport troops in a concealed fashion, as well as sneak around in a combat capability, popping up into view only when they're ready to kill something.
Cons 
- More vulnerable to most threat weapons. Helicopters can be taken down by a wide range of weapon types if they're not carefully employed. They fly low and slow, relative to jets, and transport variants can be very vulnerable when flying into or out of a landing zone.
- Weaker armament than jets. Helicopters cannot lift as much ordnance as jet aircraft, meaning that they almost never have anything that can pack the same kind of punch as a 500lb or 2000lb bomb from a jet. However, they make up for this with the precision of their fires.
- Loud. The enemy will definitely hear helicopters coming in, unless in the midst of a major battle.
Standard Roles & Positions When Working With Helos 
When infantry are embarked in helicopters, they end up taking roles that complement those of the standard helo crew. This includes two primary roles - the Navigator and the Door Gunner. Since these roles are only typically used when ferrying troops to combat, it makes sense to use those same troops to man the positions that benefit them.
Navigator 
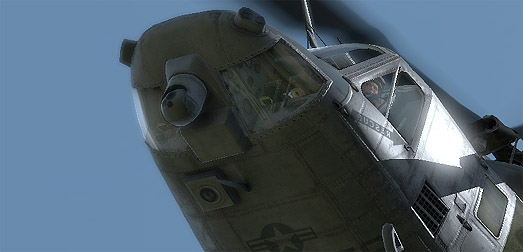
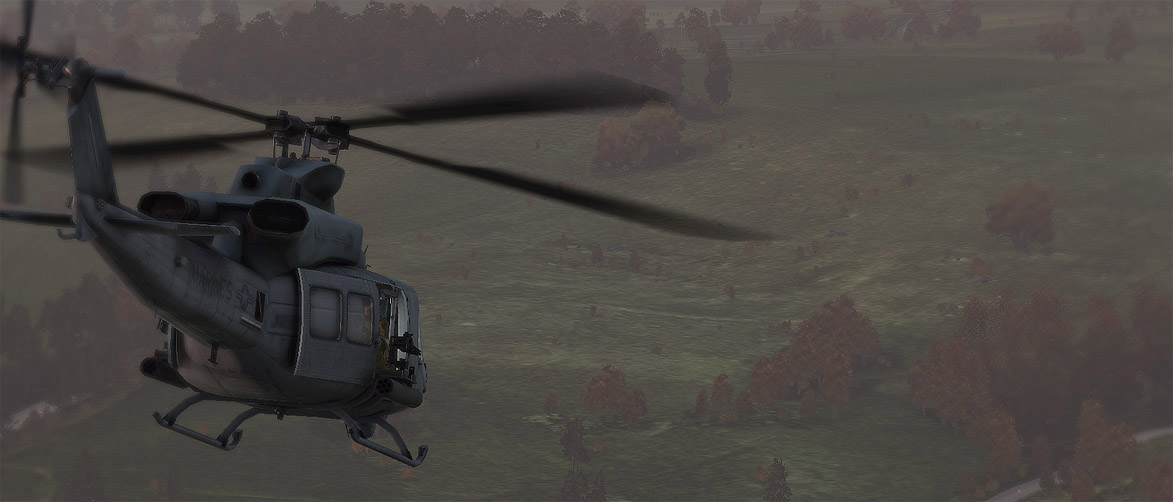
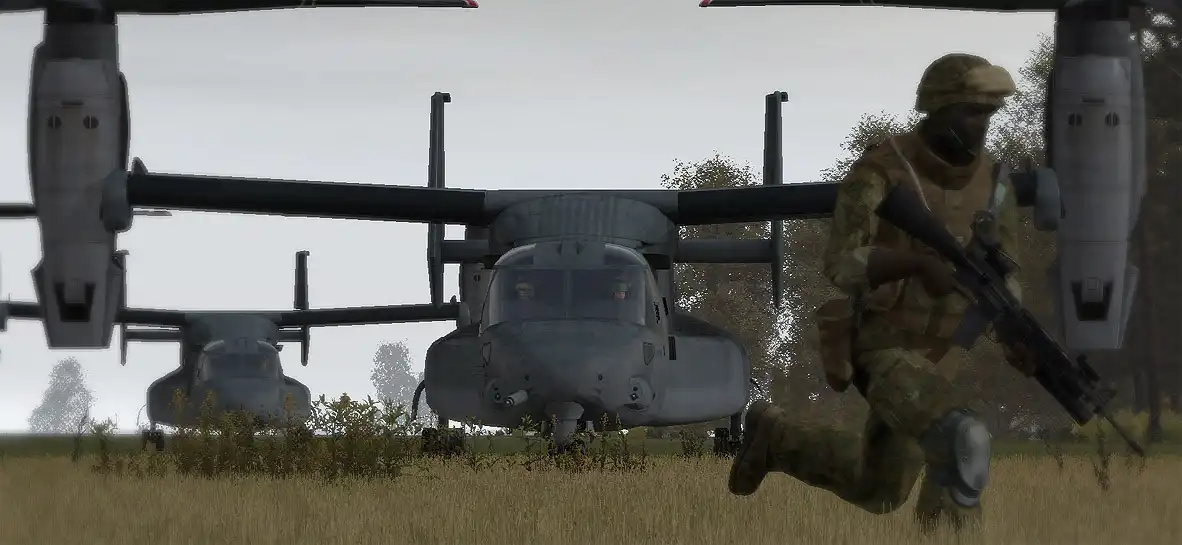
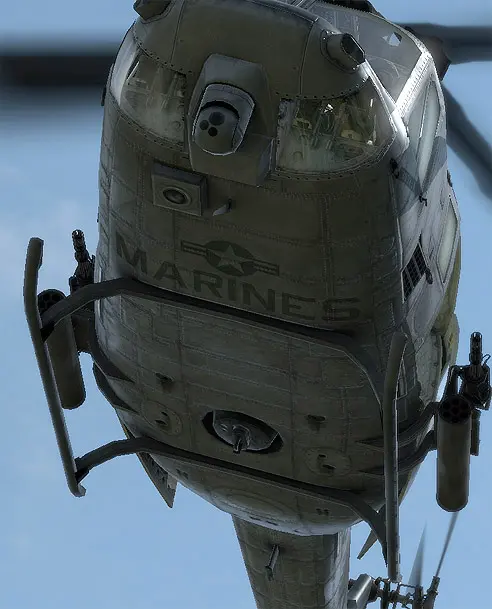
A variety of issues make it beneficial for each helicopter pilot to have a passenger act as a navigator. This typically will take the form of the senior passenger (ie squad leader or fireteam leader) acting as the navigator. The navigator will board the helo first, into the copilot seat. This gives him the ability to see clearly in the direction of flight, as well as use the imaging turret sensors on those aircraft that have them (such as the UH-1Y and MV-22).
A navigator allows the pilot to concentrate on flying without having to try to switch back and forth between his map to try to watch his route, which helps to reduce the risk of 'controlled flight into terrain', as they say. The navigator also acts as an additional set of eyes that can scan the terrain for enemy threats, suitable LZs, and more. Navigators do not plot the helicopter's route to the LZ - instead, they help guide the pilot along the route that was chosen during planning, allowing the pilot to focus more fully upon his flight duties.
Navigator Guidelines 
Navigators use several verbal techniques to help assist the pilot's flight.
On My Mark - When a navigator gives a pilot a heading, he may precede the heading with "On my mark", which indicates that the pilot does not turn to that heading until the navigator has given the word. For instance:
Navigator: On my mark, make your heading two seven five.
(The navigator watches the map and waits for the aircraft to reach a specific point)
Navigator: Mark, make your heading two seven five.
(The pilot makes his course correction after hearing the navigator say 'mark')
- Time/Distance to Action - A navigator can assist the pilot by telling him approximately how far he has to go to reach a given waypoint, landing zone, or other important point. Most people seem to be able to estimate distance better than time, and thus it's best to give these heads-up calls in distances instead of seconds. For instance:
Navigator: Maintain this heading. In one kilometer you will cut due west... 500 meters to turn... Stand by to turn on my mark... Mark, make your heading due west.
- Terrain Visualization - A navigator who can accurately tell the pilot what terrain features he will be seeing next, and how to guide himself to the next waypoint with their help, is an invaluable asset. This only requires that the navigator can read the contours of a map with accuracy. For instance:
Navigator: When we exit this valley there will be a small hill to our front-left. Pass it on the southern side and then prepare to make a hard right turn to the south. The landing zone is a large field in front of a forest that will be visible after your turn, set down as close to the treeline as you can.
Door Gunners 
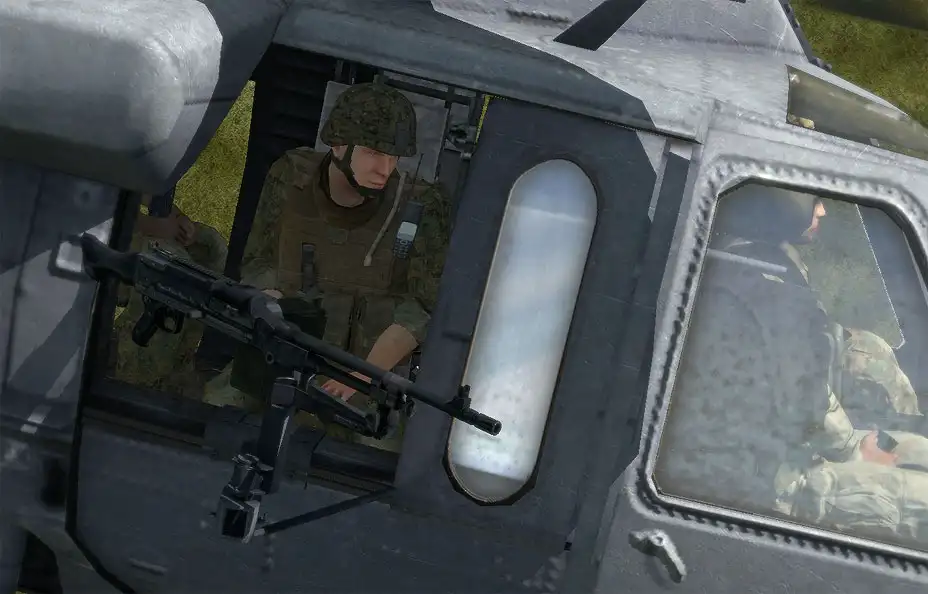
Not to be confused with a "Crew chief", who is part of the helicopter's crew, "door gunners" are instead part of the squads or teams embarked upon the helo. These gunners help to maintain security during flight, and debark with their parent unit once at the LZ. If engaged en-route, the door gunner communicates with the crew chief and pilot and assists them in returning fire on enemy contacts.
Like the Crew Chief, the door gunner is also responsible for communicating the proximity of obstacles to the pilot when in close terrain and attempting to land. This can be done with simple concise verbal commands to the pilot to tell him which way to move the helo to avoid obstacles, such as "Tree on left, move right 10 meters".
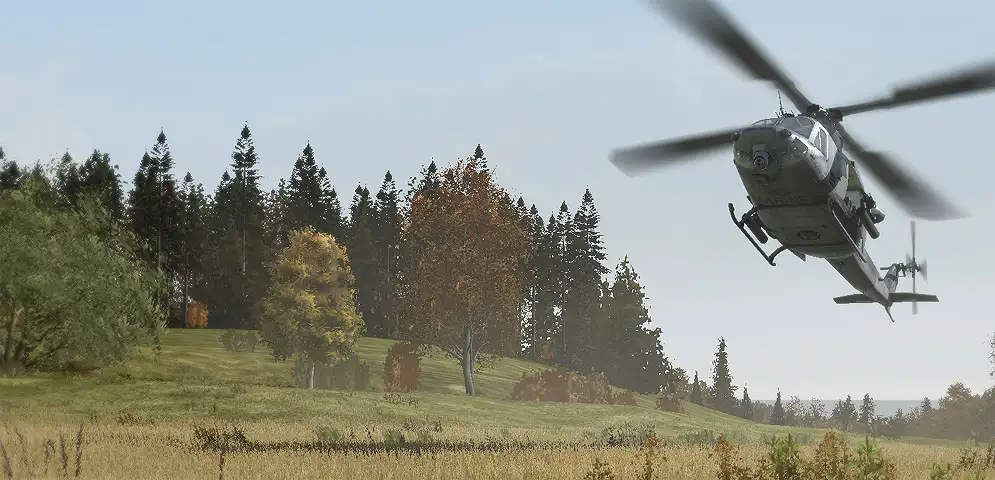
stands by to man the M240 on a Knighthawk helo"
Door Gunner Guidelines 
- Scan for threats & communicate them to the pilot. The gunner must be constantly scanning for hostile threats. He watches for:
- Enemy personnel and vehicles
- Muzzle smoke
- Tracers
- Smoke trails from missiles or rockets
- Trees, large rocks, and other obstacles when descending into an LZ
Upon spotting any of these, he immediately informs the pilot, either through "Vehicle" VON or Teamspeak. The gunner can use either clock directions or relative directions (ie: front, left, right, etc) when calling these targets or objects out.
- Be proficient with helo door gunnery. This includes knowing how to correctly lead targets when the helicopter is moving at a variety of airspeeds. As a general guideline, one must lead in the direction that the target is moving relative to the gunner's perspective. If a target is crossing from right to left, the gunner must lead the target by aiming to the left side of the target.
- Disembark once the helo has landed at the LZ. The door gunner, being part of an infantry fireteam and squad, does not stay mounted in the helo. Once at the LZ, he jumps out and rejoins his fireteam.
Airborne Assaults 
An airborne assault is simply an assault which uses helicopters to move the infantry into position. Airborne assaults are planned by the highest leadership element in game - usually the Platoon Commander in a cooperative environment.
Planning the Assault 
Landing Zone (LZ) Considerations 
The first thing that must be considered for a airborne assault is where the landing zone(s) will be. Things like equipment loadout, force composition, main objectives, etc are typically done on the mission-makers side, so they are not generally planned for at the platoon level. The platoon gets the orders [in the form of a mission operation order] and acts on them.
When choosing a landing zone, the following must be taken into consideration. In short, you use METT-TC and OCOKA, but specific emphasis is made on the following elements of it.
- Terrain. What kind of terrain is around the objective? Is it hilly, flat, mountainous, etc? Flat terrain makes LZ selection difficult and generally forces you to land further from the objective. Hilly, rough terrain can allow for a closer LZ to the objective, but makes it harder to find a good LZ to set down at - which increases the usefulness of being able to drop troops without setting the helicopter down.
- Approaches. Being able to approach the LZ and never come into visual of the enemy is highly desired. If they cannot see you, they cannot hit you with direct-fire weapons, and you may be able to confuse them as to your precise landing spot. Terrain depressions, hills, and even forests can be used to mask the helo on the approach.
- Cover/Concealment availability. Once the troops are on the ground, what kind of cover and concealment will they have? The more the merrier. At the same time, landing in an area with too much hard cover can be tricky for pilots, increasing the risk of damaging the aircraft.
- Proximity of the enemy. The closer you try to land to the enemy, the riskier things get. While 'hot' landings can be done, they require the element of surprise to be effective, and benefit greatly from CAS and artillery fires being used to suppress or otherwise occupy the enemy during them.
- Likelihood of patrols. The more likely enemy forces will be patrolling far out around the objective, the further the LZ should be, or the more the LZ should be prepped (by artillery or CAS) before the landing occurs.
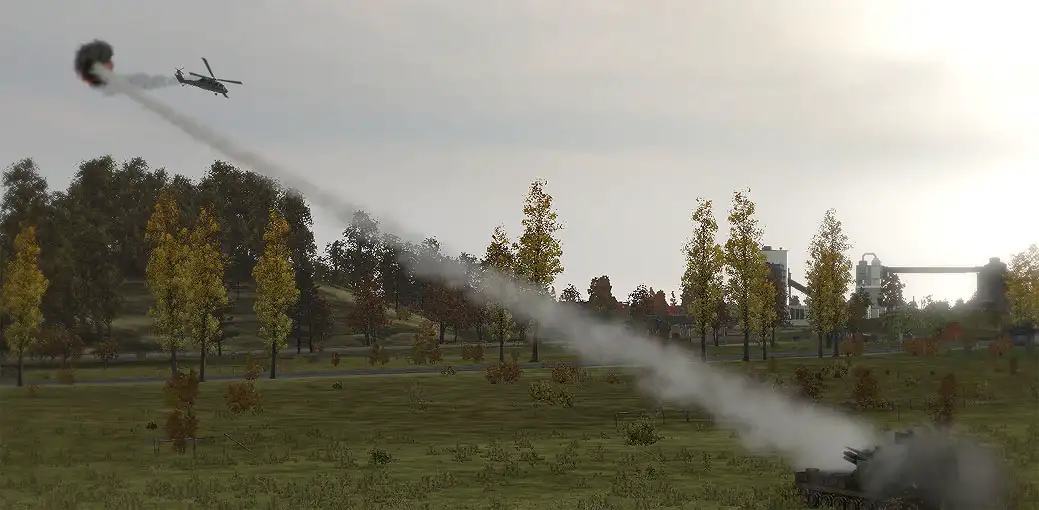
- Enemy anti-air capabilities. If the enemy has Strelas or Shilkas/Tunguskas, a masked approach becomes critical. If that is not possible, the LZ must be far enough away from the enemy that there is no reasonable chance of being engaged by the enemy anti-air at or near the landing zone.
After the primary LZs are chosen, a set of alternate LZs should be determined based on the possibility of enemy contact at the main LZs. Alternate LZs should typically be position 500 or more meters further away from the expected enemy positions than the primary LZs, as an additional safety measure.
Coordination 
Once the LZ(s) and alternate LZ(s) are decided on (and clearly marked on the map), the next step is to coordinate the overall assault. At this point, the following needs to be hashed out.
- What squads will be in what helos? As soon as this is known, the squad leaders will oversee the embarkation of their troops into their assigned helos.
- What helos will go to what LZs, and in what order will they fly? Establishing an order of flight is critical if one wants to get to the LZ in any sort of organized fashion.
- What is the planned route to the LZ? High/low alt, terrain following, etc. Mapping out the route with map marks is always useful. Note that pilots can use the 'vehicle' channel to place detailed waypoints on the map for their own reference during flight. When time is available to do this, it should always be done, as it greatly reduces the workload on the pilot/navigator and allows them to concentrate more fully on situational awareness.
- What order will the helos land? Simultaneously, staggered? Are waves necessary? The pros/cons of each are as follows:
- Simultaneous. A simultaneous landing is when all aircraft hit the LZ within about fifteen seconds of each other. This puts a lot of boots on the ground very rapidly, and forces any defending forces to split their fires between multiple helicopters. Simultaneous landings typically cover a decent stretch of ground, which further dilutes the effectiveness of any defensive enemy fire. The number of guns on the helos also helps to suppress the landing zone on the way in, and provides support on the way out.
- Staggered. Staggered landings occur when helicopters hit the LZ one after the other, with 30 seconds to a minute or more between each landing. This allows one squad to get on the ground, establish the security of the LZ, and provide coverage as the next helo comes in. Staggered landings are sometimes forced by the terrain - if there is only a small LZ in a clearing that is suitable for landing, you may not be able to orchestrate a simultaneous landing.
- Waves. Waves occur when the number of helicopters available cannot airlift the entire assault force in one go. The key characteristic of wave landings is that the initial force will be alone on the ground for as long as it takes for the aircraft to return to the staging area, pick up the next wave, and fly them in. If the enemy becomes aware of the fact that waves are being used, they are likely to try to ambush successive waves. It is important to not become predictable in flight path/ingress directions when using waves.
- What are the responsibilities of the various squads and fireteams upon landing? Each squad needs to know where to go immediately upon landing so that they clear the LZs as quickly as possible and provide security for the assault force. Security must be given high-priority consideration, as it is critical to the success of getting all friendly infantry onto the ground safely. Each fireteam should know what area of responsibility it has, and the squads should be given clear orders regarding what areas they are responsible for covering at the landing zone.
Loading Up 
Leaders load their troops and get accountability 
When it comes time to board the helos, element leaders will direct their teams to the appropriate helos and get everyone loaded up. The element leaders board last, after getting accountability for their troops, and then tell the pilot that all troops are loaded. The squad leaders report to the Platoon Commander when their squads are fully loaded.
How to approach a helo when loading 
When boarding helicopters, approach them from the side. This is for two reasons, one of which is modeled by default, and one of which is modeled in .
The first reason is because helicopters like the Seahawk and Huey have door gunners, and a good practice is to avoid crossing their line of fire. This may not come into play much during boarding at a friendly location, but it will be a large factor of hot extractions and disembarking. So, get in the practice of not crossing the gunner's line of fire when embarking or disembarking from a helo.
The second reason, which is modeled in ![]() , is so that the tail rotor does not turn you into flying chunks of meat. Being off to the right or left of the helo means that the tail rotor would have to move a great deal to strike you, which means you'd likely have enough time to get the hell out of the way before being minced.
, is so that the tail rotor does not turn you into flying chunks of meat. Being off to the right or left of the helo means that the tail rotor would have to move a great deal to strike you, which means you'd likely have enough time to get the hell out of the way before being minced.
Spread loading 
It is important to ensure that critical elements such as anti-tank, demolitions, and other mission-essential roles are spread-loaded throughout the different helos. This is done to ensure that the loss of one helo does not cripple the assault. Squad leaders are each in a different helo, and the Platoon Commander spreads his PltHQ element out through all of the helos to ensure that the PltCo, PltSgt, and Plt Medic are not all lost if their bird goes down.
Contingency Planning 
It is important that the overall assault coordinator (typically the Platoon Commander) clarifies the actions that will be used for any unexpected situation in advance. I will describe the standard procedures for them, which are standard operating procedure (SOP) and thus in effect unless the assault coordinator specifically says otherwise.
Actions On: Downed Helo 
One of the most damaging events to an airborne assault, particularly one done at the platoon level, involves a helicopter being shot down before reaching or upon reaching the landing zone. Thanks to the damage model of A2 and ![]() , helicopters can oftentimes land semi-successfully after taking heavy damage. While this will likely result in many wounded and likely several killed in the helo, the chance for people to survive is significant and must be acknowledged. Just because a helo goes down does not mean that all hands aboard were lost.
, helicopters can oftentimes land semi-successfully after taking heavy damage. While this will likely result in many wounded and likely several killed in the helo, the chance for people to survive is significant and must be acknowledged. Just because a helo goes down does not mean that all hands aboard were lost.
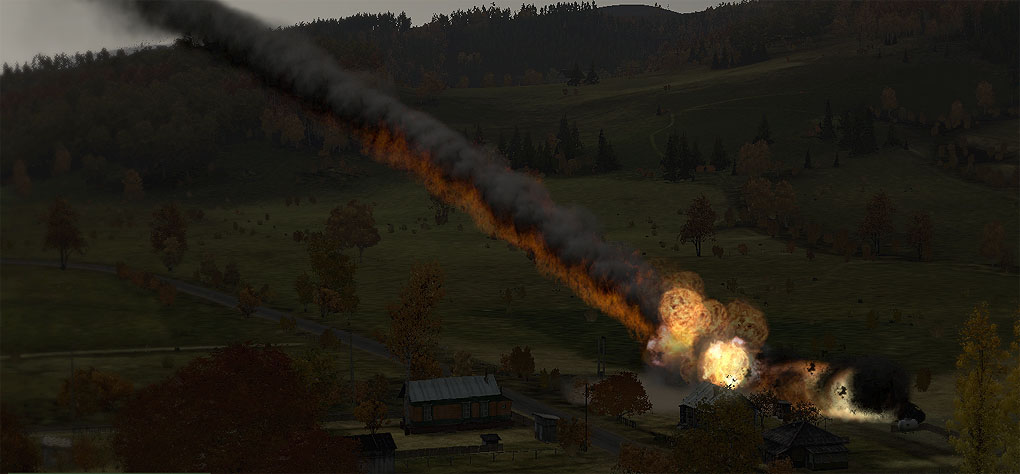
The helo went down hard into a collection of trees immediately thereafter."
The steps for reacting to a downed helo start as soon as it looks like an aircraft is going down. These steps are typically carried out by the pilot, navigator, copilot, or door gunner - the roles most likely to have a good visual on things.
- Observe the crash. If the helo goes down in view of others, the speed of the helo upon impacting the ground, as well as whether it landed in trees/on rocks/etc, can give a good rough idea of whether any survivors are likely.
- Identify the manner in which the helo was shot down. It could have been from SAF, HMGs, RPGs, missiles, etc. Knowing what caused the crash helps the other helos to change their tactics accordingly.
- Communicate the threat type if known, and that a helo went down. Identify the helo if known (ie: "Bravo's helo"). Give an idea of whether there are any likely survivors.
- If necessary, call out an LZ shift for the troop transports. For example, "LZs shift 500m west!", spoken so that all aircraft pilots can hear it, to ensure that the landing is not made in an area with unexpectedly heavy enemy activity. All that is needed is a compass direction and a distance, or a verbal description if appropriate to the terrain. This call requires a rapid evaluation of the enemy threat posed as well as sound judgment.
- Continue with the landing. Getting troops on the deck becomes even more important if a helo has been lost - the longer they stay in the air, the more likely it is that another helo will go down.
- If CAS is available, it can proceed to do a visual recon of the downed aircraft, to see if survivors are visible and provide close air support if so.
- Once all troops are offloaded, if no CAS is supporting, a transport helo can be dispatched to do a visual recon of the downed helo. This aircraft can provide support via their defensive machineguns, but the enemy threat may make it impossible to orbit the area. For example, if a Tunguska or Shilka shoots down a helo, there's no reason for another helo to fly into that danger area - they can't help against a threat like that.
Bear in mind that the Platoon Commander will be involved in the decisionmaking process for a downed helo scenario and will be giving orders as needed. The ultimate goal is to rescue any survivors of the crash, but it will be up to the PltCo as to how exactly that will be done, given the tactical situation at the time.
Actions On: Heavy LZ Contact 
The other "worst case" scenario involves landing in heavy contact, where the helicopters are coming under concentrated and accurate fire before they get on the ground, or are ambushed upon landing.
The threat to the landing force must be rapidly evaluated. If the helos can land safely and offload their troops, and the troops will be in a position to effectively engage the enemy, the landing should continue as planned. If the threat is particularly high or the LZ has been compromised by the positioning of enemy forces, shifting LZs becomes necessary.
Note that consideration must be paid towards any friendly elements that are already on the ground - if one helo disembarks troops and the second is shot down, the third should make every reasonable attempt to land close enough to support the players already on the ground. If all helos are on the ground and disembarking troops when an ambush is sprung, they may be faced with a tough decision - offload the rest, or abort the drop, hope that the people on the ground can hold out, and drop the rest of the troops close enough that they can move to support their comrades in short order and potentially attack a vulnerable flank or rear of the ambushing forces. Whatever the case, the decision must be made rapidly and announced clearly so that a coordinated response can occur.
Actions On: Emergency Landing 
An emergency landing is typically the result of unexpected damage to the aircraft. Fuel leaks or damaged tail rotors can cause this, as can outright engine failure. It can happen anywhere - at the LZ, over random enemy territory, in friendly territory, and even over water.
The steps for dealing with an emergency landing are as follows.
- Identify the type of emergency and begin immediate actions to deal with it.
- Fuel leaks are a problem when they make it impossible to get to the current destination. Fuel leaks are relatively easy to deal with, provided that you have time to fly out of hostile fire before setting down.
- Damaged tail rotors make landing very tricky. It is best to maintain a high speed to lessen the effect of the tail rotor, get out of enemy territory, and then find a nice, open field to land in.
- Engine loss is the most serious emergency. Autorotation must be immediately executed for there to be any hope of survival. Autorotation is covered in detail in the Vehicle Usage section later.
- Declare an emergency. The pilot will communicate on command channel that his aircraft is having a serious problem which requires an emergency landing.
- Communicate where you are attempting to land, so that other helos and the Platoon Commander are aware of where to search for you.
- Upon a successful landing, immediately get mounted infantry out and into defensible positions. Security is the immediate concern. If the landing position allows for the defensive guns of the helo to be employed, use the helo crew to man them.
- Communicate with higher as to where the landing was made, the status of forces on the ground, and anything else relevant.
- If wounded are present, establish an aid position from which any accompanying medical personnel can provide aid.
- Make a decision to either guard the crash site and await pickup, or push out to a more defensible area. Act upon that decision and communicate it to higher.
- Continue with the mission if possible, or await further guidance from the Platoon Commander.
Executing the Assault 
Preflight 
The final step before lift-off is the pre-flight checklist. This is done by the Air Assault Coordinator to ensure that every relevant step has been completed.
- Pilots have been given their LZs.
- Emergency drills, if different from SOP, have been decided on and briefed to all elements
- Areas of responsibility upon landing have been given at both the platoon (per squad) and squad (per fireteam) levels.
- Rally points have been assigned.
- Elements have embarked as planned.
- Crew chief and door gunner positions are manned.
- Navigators, if required, are positioned appropriately.
- Element leaders have given confirmation and have accounted for their troops.
Conducting the Assault 
Once the pre-flight checklist has been mentally and verbally run through (as necessary), the air assault coordinator gives the order and the helos take off to begin the airborne assault.
At this point the pilots of the assault elements move via their assigned routes to their respective landing zones, maximizing their use of the terrain to conceal their approach. Depending upon the forces available, an attack or recon helicopter may precede the transport helicopters to the LZs to sweep the area for enemies. Artillery can also be used to "prep" an area or lay smoke to conceal the landing from known or suspected enemy positions.
At the Landing Zone 
Assuming that none of the above-listed contingencies happen (downed helo, heavy contact, emergency landing), the following steps take place at the landing zone.
- The helo comes into range of the LZ and prepares to land. Speed and altitude drop accordingly. It is important that the pilot's approach is smooth and fast, as it minimizes the amount of time the embarked troops are in a vulnerable position.
- The doorgunner and crew chief scan the LZ area and suppress any contacts as necessary. The helo crew scans vigilantly to ensure that the helo is not about to set down into an ambush. If they see anything suspicious, they immediately report it to the pilot.
- Helo touches down at the LZ.
- Pilot announces "Go, go, go!" loudly, which the senior infantry leader on the helo repeats. It is important to let the pilot make this announcement, since he is the one that knows whether or not the landing is complete. "Jumping the gun" and hopping out too soon can result in rather nasty falls.
- Upon hearing "Go, go, go!", all infantry immediately dismount, and the door gunner and crew chief hold fire to avoid hitting any dismounting infantry. The door gunner dismounts after his fellow infantry are safely out. Note that when disembarking, every player should avoid crossing the door gunners' lines of fire if possible. Even though the door gunner and crew chief are supposed to hold their fire when troops are debarking, there may be times when they have to risk it and fire anyway. Obviously, running in front of something like an M134 can end your day in a real harsh way. To play it safe, players should do their best to avoid crossing the lines of fire of the doorgunner and crew chief. As a door gunner or crew chief, you should exercise a great deal of caution when firing in the five seconds after touchdown during which the troops are disembarking and moving out.
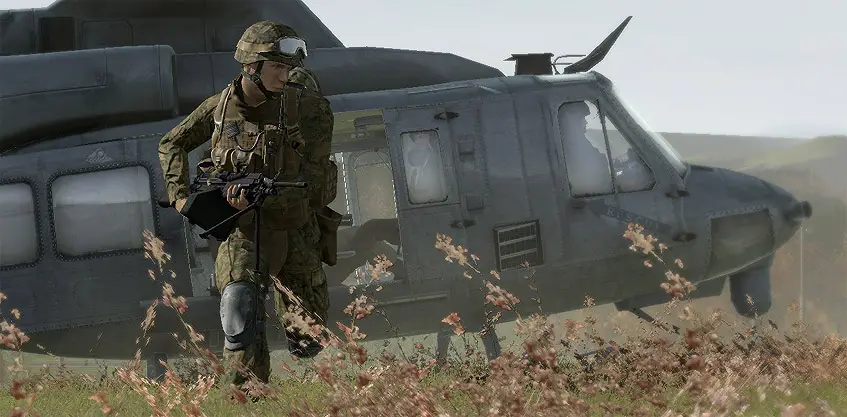
"An automatic rifleman scans the area as he rushes away from a UH-1Y."
- Senior element leader (ie: squad leader) oversees the dismounting process. He steps away from the aircraft a few paces, takes a knee if possible, and watches the passenger section of the aircraft.
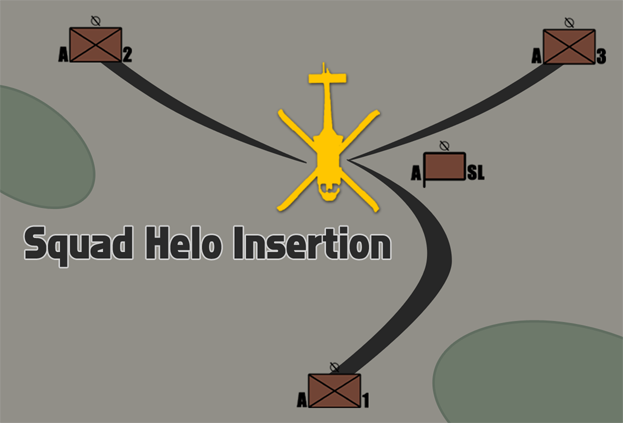
- All infantry immediately head to their assigned areas. As the illustration below shows, a typical squad insertion involves the fireteams spreading out in a triangular formation to provide 360° security. The first fireteam moves in front of the helo, the second moves to the rear-right, and the third fireteam moves to the rear-left, orienting out and away from the helicopter. If hard cover and concealment is around, the infantry naturally integrate it into their movement and defensive plans.
- When no troops are left on the helo, the senior element leader tells the helo pilot that ground forces are clear of the helo.
- The helo takes off. Upon hearing that ground forces are clear, the crew chief resumes firing suppression of any enemy forces around the LZ. The pilot then begins his post-insertion mission, which oftentimes is that of aerial reconnaissance and support.
Assuming that everything goes according to plan, an entire platoon can hit an LZ, unload, set up a perimeter, and have their transport aircraft flying out of the LZ area in under a minute.
Extractions 
Getting troops on the ground is only part of the problem. Oftentimes they will need to be extracted as well - sometimes from a clear LZ and sometimes from the midst of a heated firefight.
Helo extractions can take several forms. At the highest level you have a full multi-squad extraction of all friendly elements that requires several helos to achieve. At a lower level you may see an extraction of something like a scout/sniper team, forward observer, or other small element. The main point for the infantry on the ground is to do everything they can to minimize the risk of the helo being shot down when it comes in to make a landing. This requires good choices of landing zones, posting security, good lanes of fire and observation, and good communication and coordination with the helo.
Procedure for Calling an Extract 
- First, give a heads-up to the pilot along with a general area he should start to head for. This allows the aircraft to be making progress towards the area before the specific LZ has been decided on.
- Identify a good extraction area and mark an LZ on the map. Oftentimes the tactical situation will require you to choose an LZ that is difficult to observe and fire into. Forcing the infantry to run a bit further, provided that it reduces the chance that the helo will be shot down, is an acceptable side effect.
- Communicate the LZ position to the extract helo(s). Use clear and concise language and ensure that you tell the helo about the situation at the LZ - specifically, mention any expected threats, whether the LZ is hot or cold, the terrain, and the intent in choosing it. For example - if you picked an LZ on a specific side of a hill, make sure that the pilot(s) know that you did so because you expect an enemy threat to exist on the other sides of the hill.
- Move to and secure the landing zone. Clear the area of hostiles and think about where enemies could position themselves that would be a threat to the incoming helicopters.
- Post security. Security elements will watch for the enemy and hold them off if necessary. They will be the last to board the helos. Security elements must be confident that their leaders will tell them when to board the helos, so that they can focus on providing security and not being distracted by watching the aircraft come in, land, et cetera. Typically the entire squad will be employed as the security element.
- Guide the helo in verbally and visually and deploy smoke if available to help it on final approach. The senior element leader on the ground will communicate with the pilot to ensure that he is coming to the correct LZ. If operating in visually cluttered terrain, smoke can be deployed to help reduce the amount of time it takes for the pilot to locate the LZ. The senior leader on the ground will talk to the helicopter pilot until he has touched down, giving him feedback on where he is landing, where friendly troops are, where the enemy is expected to be, and correcting him as necessary.
- Board rapidly and get out of there. Once the helo is on the ground, security elements are called in and board the helicopter. The process of boarding must be done very rapidly, with each team leader guiding his teammates to the helicopter as quickly as possible. The last person in should be the overall element leader, who is accountable for his troops. Once they're in, he boards the aircraft and loudly states "We're in, go, go, go!", at which point the helo takes off and the crew chief and door gunner, if available, fire heavy suppression to cover the aircraft as it gains speed and altitude.
 新規
新規 編集
編集 添付
添付 一覧
一覧 最終更新
最終更新 差分
差分 バックアップ
 凍結
凍結 複製
複製 名前変更
名前変更 ヘルプ
ヘルプ
